Open a new
transparent image of 700 x 500 px
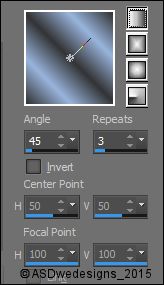
Fill with the Gradient

Adjust
- Blur - Gaussian Blur - 40
02
Layers -
New Raster Layer
Selections - Select All
Open Tube "kittys-Gre-GDaniels"
Note: If
you are using tubes and colors of your
own, it is best to use the
tube provided in the Materials for this step, otherwise
the result will be different. You can colorize it to
match your work.
Edit - Copy
Minimize to Tray , you need it again
later
On your work image: Edit - Paste
Into Selection
Selections - Select None
Effects - Image Effects - Seamless
Tiling - Default settings
Layers -
Merge - Merge Down
Adjust -
Blur - Gaussian Blur - 40
Layers
- Duplicate
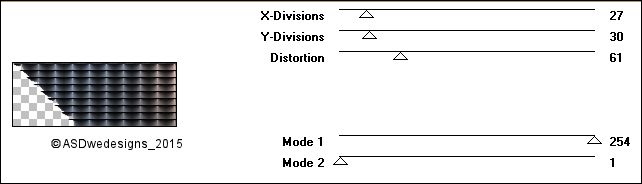
Effects - Plugins -
VM Extravaganza -
Transmission
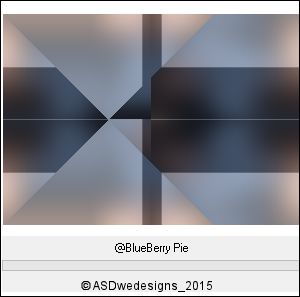
Effects -
Plugins - <I.C.NET Software>
Filters Unlimited - &Bkg Kaleidoscope> -
@BlueBerry Pie
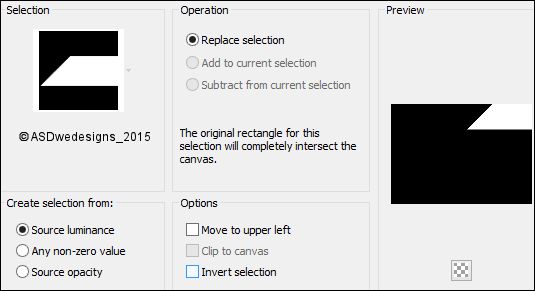
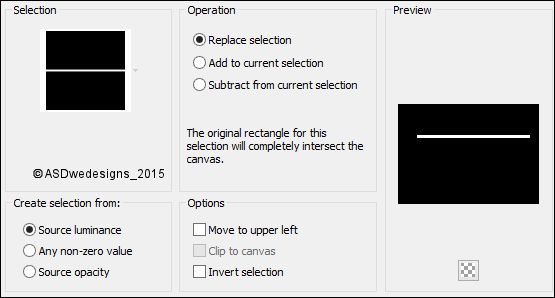
Selections - Load/Save Selection -
Load Selection From Disk -
Msb_Jeans_01
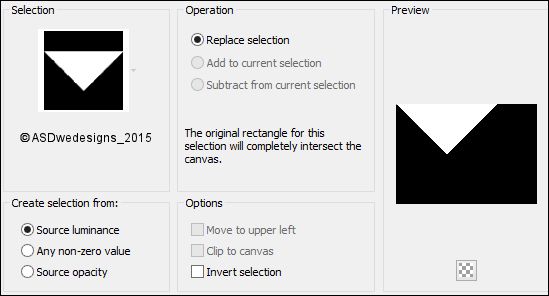
Selections - Promote Selection to
Layer
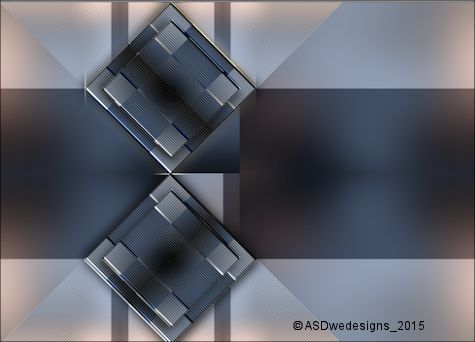
Effects - Plugins -
<I.C.NET Software>
Filters Unlimited - &Bkg Kaleidoscope> -
@Mirrored Scaled
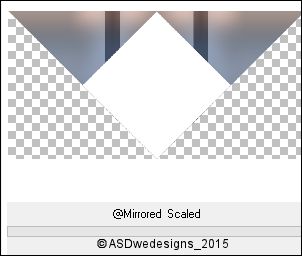
Selections - Select None
Magic Wand Tool  - Mode: Add /Shift - Tolerance 0 -
Contiguous checked - Anti Alias
Checked - Click in the
white part
- Mode: Add /Shift - Tolerance 0 -
Contiguous checked - Anti Alias
Checked - Click in the
white part
Edit - Cut (Or hit the Delete
Key of your Keyboard)
Keep Selected!
Layers -
New Raster Layer
Fill the Selection with the
Gradient
Effects - Plugins -
<I.C.NET Software>
Filters Unlimited - &Bkg Kaleidoscope> -
Cake Mix

Keep
selected!
Color Palette: Set the Foreground
Gradient back to color

Layers -
New Raster Layer
Fill the Selection with the
Foregroundcolor
Selections - Modify - Contract -
2 px
Edit - Cut (Or hit the Delete
Key of your Keyboard)
Selections - Select
None
Layers -
Merge - Merge Down
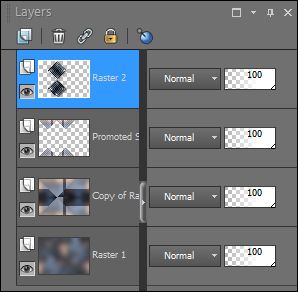
07
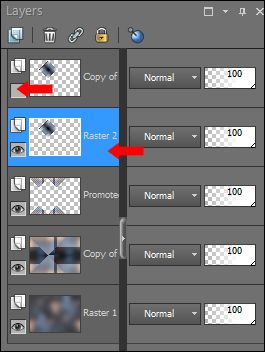
Layer Palette -
Click on the Second Layer from the Top
Layers
- Duplicate
Image - Mirror - Mirror
Vertical ( Image - Flip in previous
PSP Versions)
Layers
- Merge - Merge Down
Effects -
Plugins - penta.com - jeans

08
Layer Palette: Click on the Top
Layer
Layers -
Duplicate
Layer Palette: Close this layer
by clicking on the little eye
Click on the Second Layer
from the Top
09
Layers -
Duplicate
Image - Mirror - Mirror
Vertical ( Image - Flip in
previous PSP Versions)
Layers -
Merge - Merge Down
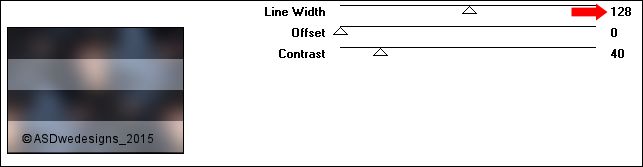
Effects - Edge Effects - High
Pass -
Radius
10
- Desaturate
not
checked
Tip: If you use different colors
set the Blend Mode of this Layer to
Luminance Legacy
Layer Palette - Click on the Top
Layer and open it again
Layers - Duplicate
Image - Resize - 80% -
Resize all Layers not checked
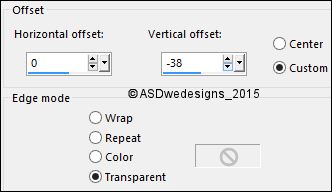
Effects - Image
Effects - Offset
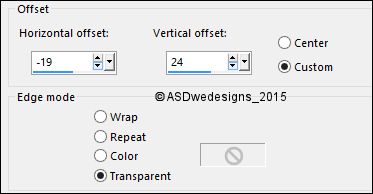
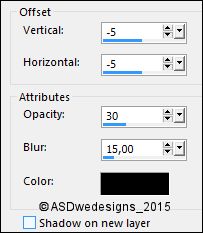
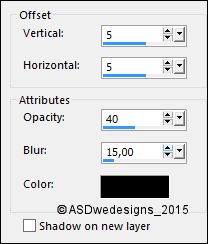
Effects - 3D Effects -
Dropshadow - Color #000000
.jpg)
Repeat
with the Vertical and Horizontal Offset to Minus
5
Layers
- Merge - Merge Down
Layers
- Duplicate
Image -
Mirror - Mirror Vertical (
Image - Flip in previous PSP
Versions)
Layers
- Merge - Merge Down
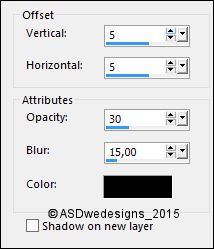
Effects - 3D Effects -
Dropshadow - Color #000000
Repeat
with the Vertical and Horizontal Offset to
5
Layers
- Merge - Merge Down
Effects -
Plugins - FM Tile Tools - Wrinkle
Emboss - Default settings
Effects - Plugins -
penta.com - jeans
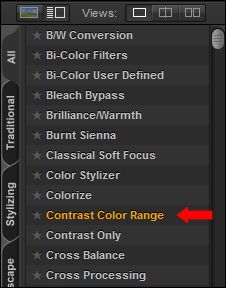
Effects -
Plugins - Nik Software - Color Efex
Pro 3.0 -
Contrast
Color Range - Default
Settings
Your work and Layer Palette look
like this now
12
Layer Palette - Click on the
Second Layer from the Bottom
Selections - Load/Save Selection - Load
Selection From Disk - Msb_Jeans_02
Selections
- Promote Selection to Layer
Effects - Plugins - VM
Experimental - TeeWee

Selections - Select
None
Layer
Palette - Double click on this Layer and set the Blend Mode to
"Multiply"
Layers -
Duplicate
Image - Mirror - Mirror
Horizontal ( Image - Mirror
in previous PSP Versions)
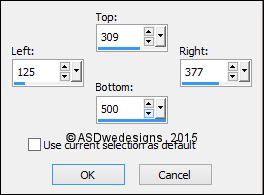
Selection Tool -
Rectangle  -
Custom Selection:
-
Custom Selection: 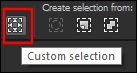
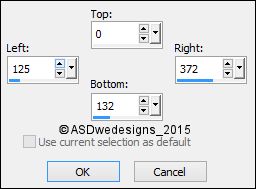
Edit - Cut (Or hit
the Delete Key of your Keyboard)
Selections - Select
None
Layer
Palette - Double click on this Layer and set the Blend Mode to
"Screen"
14
Layer Palette - Click on the
Second Layer from the Bottom
Selections - Load/Save Selection - Load
Selection From Disk - Msb_Jeans_03

Selections
- Promote Selection to Layer
Effects - Plugins - VM
Instant Art - Origami Folder
Selections - Select
None
Layer
Palette - Double click on this Layer and set the Blend Mode to
"Soft
Light"
Layers -
Duplicate
Image - Mirror - Mirror
Horizontal ( Image - Mirror
in previous PSP Versions)
Layer
Palette - Double click on this Layer and set the Blend Mode to
"Multiply" and the Layer Opacity to
88
Selection Tool - Rectangle
- Custom Selection:
Edit - Cut (Or hit
the Delete Key of your Keyboard)
Selections - Select
None
16
Layer Palette - Click on the
Second Layer from the Bottom
Open Tube
"Element_Jeans"
Edit - Copy
On your work image: Edit -
Paste As New Layer
No need to move
Tip: If you use different colors set the
Blend Mode of this Layer to Luminance Legacy
17
Color Palette: Change the Foregroundcolor to
#ffffff 
Layer Palette - Click on the Top
Layer
Layers - New
Raster Layer
Selections
- Load/Save Selection - Load
Selection From Disk -
Msb_Jeans_04
Fill the
Selection with the Foregroundcolor
Selections
- Select None
Effects - Distortion Effects -
Wind - From Left checked - Wind Strength:
95
Image - Free Rotate
-Right checked - 90°
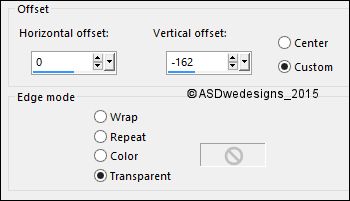
Effects - Image
Effects - Offset
Effects -
Plugins - It@lian Editors Effect - Effetto
Fantasma
Do not worry
about the colors if you use your
own
Image - Free Rotate
-Left checked - 90°
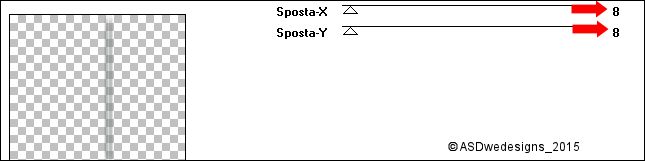
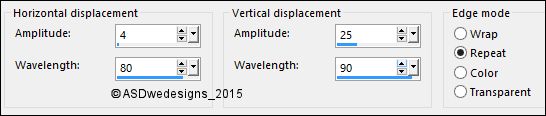
Effects -
Distortion Effects - Wave
Effects - Distortion Effects -
Wind - From Left checked - Wind Strength:
95
Layers - Arrange -
Move Down
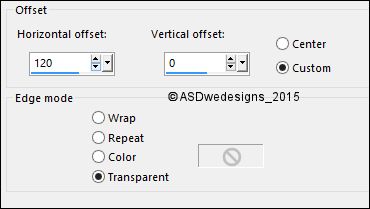
Effects - Image
Effects - Offset
Layers - Duplicate
Image - Mirror -
Mirror Vertical ( Image - Flip in
previous PSP Versions)
Effects - Image
Effects - Offset
Layers - Merge -
Merge Down
Layer Palette - Double click on this Layer and set
the Blend Mode to "Overlay" and the Layer Opacity to
80
Layers - Merge
- Merge Visible
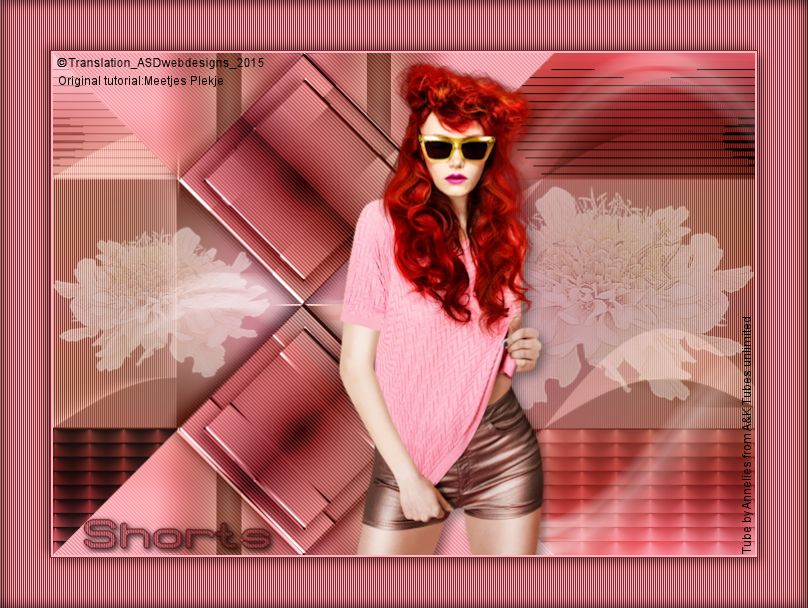
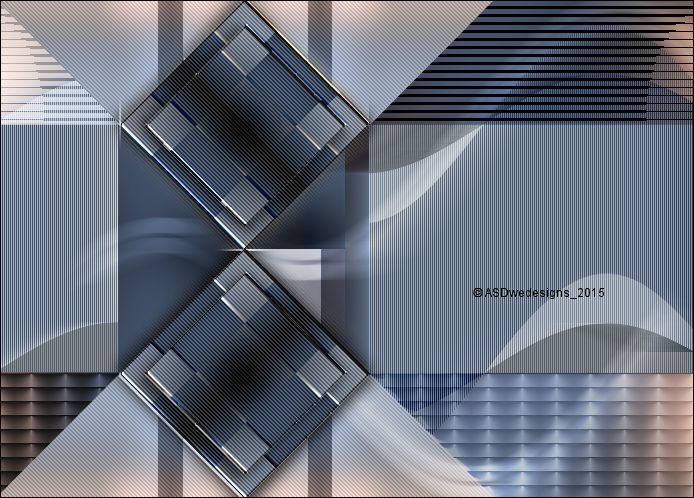
Your work looks like
this now:
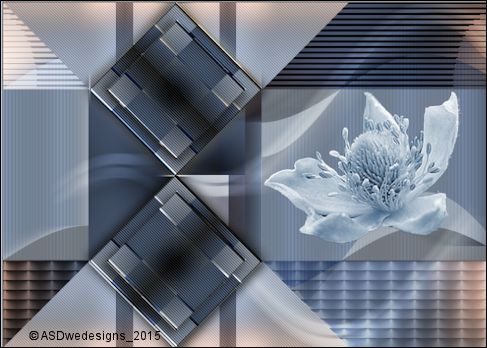
19
Open Tube "Maxyran_08_02_11
Flower"
Do not deselect!
Edit - Copy
On your work image: Edit -
Paste As New Layer
Image - Resize - 60% -
Resize all Layers not checked
Adjust - Hue and Saturation -
Colorize - Hue 148 - Saturation
61
Move to the Right like this:
Effects - Edge
Effects - Enhance
Effects - 3D Effects - Dropshadow -
Color #000000
Layer Palette -
Double click on this Layer and set
the Layer Opacity of this Layer to
30
Layers - Duplicate
Image - Mirror -
Mirror Horizontal (
Image - Mirror in previous PSP
Versions)
Image - Resize -
75% - Resize all Layers not
checked
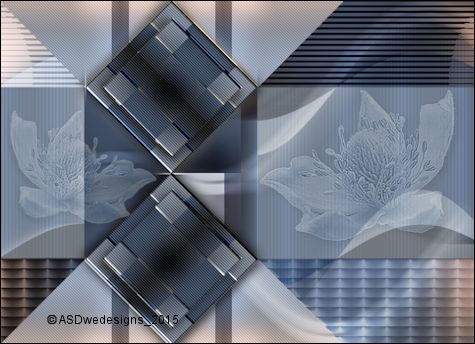
Move to the Left like this:
Layers - Merge -
Merge Down
Layers - Duplicate
Layer Palette -
Double click on this Layer and set
the Layer Opacity of this Layer to
70
Maximize Tube "kittys-Gre-GDaniels" from
Tray
Edit - Copy
On your work image: Edit - Paste
As New Layer
Move like this:
Adjust - Sharpness -
Sharpen
Effects - 3D
Effects - Dropshadow - Color #000000
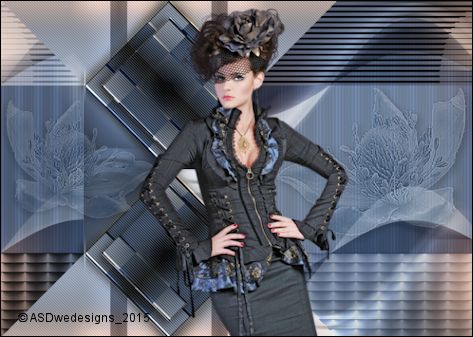
22
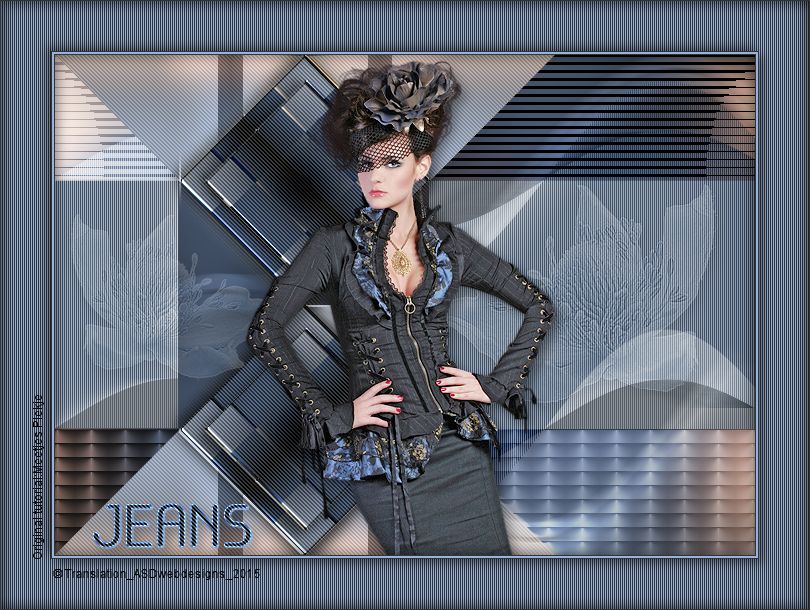
Open Tube "Text_Jeans"
Edit - Copy
On your work image: Edit - Paste
As New Layer
Move to the Bottom Left Corner like
this:
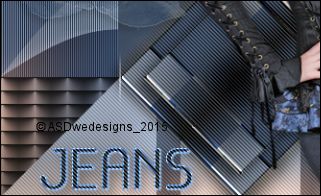
Image - Add Borders - Symmetric
checked - 1 px - #323334
Image - Add Borders - Symmetric
checked - 2 px - #6e7790

Image - Add Borders
- Symmetric checked - 1 px - #323334
Selections - Select
All
Image - Add Borders
- Symmetric checked - 50 px - #6e7790
Selections - Invert
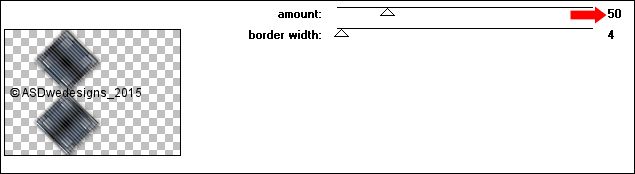
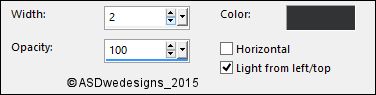
Effects - Texture
Effects - Blinds - Foregroundcolor
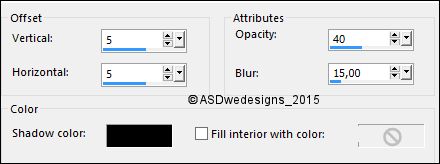
Effects 3D
Effects - Cutout - Color #000000
Layers - New Raster
Layer
Repeat
with the Vertical and Horizontal Offset to Minus Minus
5
Selections - Modify
- Expand - 4 px
Layers - Merge -
Merge All (Flatten)
Effects - 3D Effects - Dropshadow -
Color #000000
Repeat
with the Vertical and Horizontal Offset to Minus Minus
5
Selections - Select None
Image - Add
Borders - Symmetric checked - 1 px -
#323334