Color Palette:
Set the Foreground
Gradient back to color and change
to #000000 
Layer Palette
- Click on the Third Layer from the Bottom
Layers
- New Raster Layer
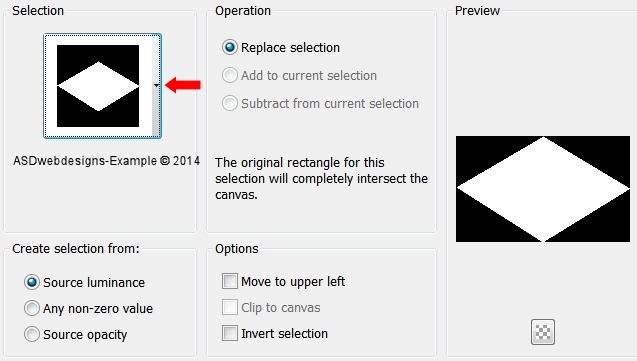
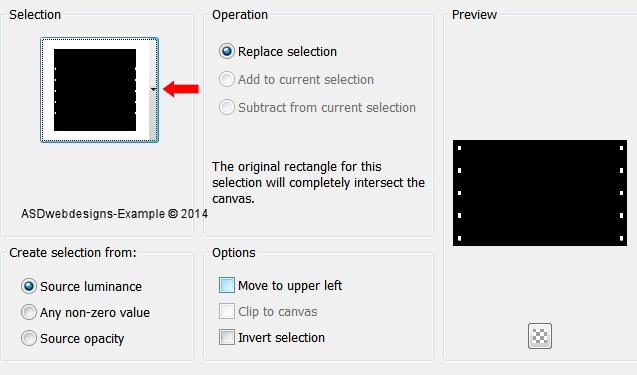
Selections -
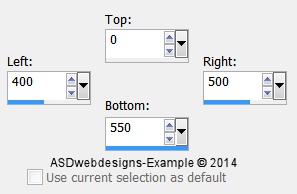
Load/Save Selection - Load Selection From Disk
-
Msb_Sel_Apples_01
Fill the Selection with
the Foregroundcolor
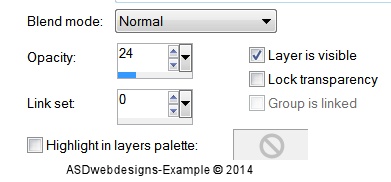
Layer Palette - Double click on this
Layer and set the Layer Opacity of
this Layer to 24
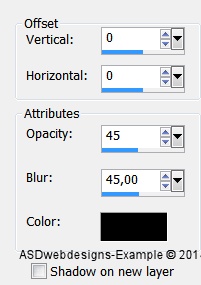
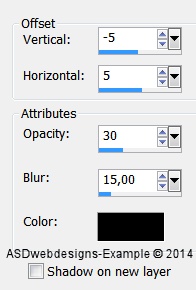
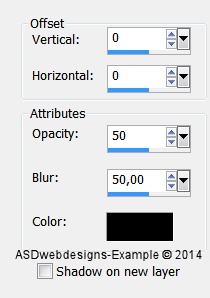
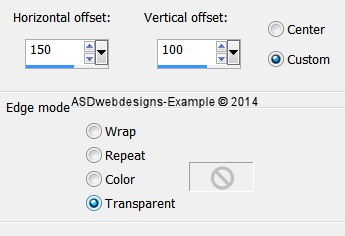
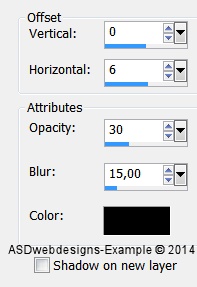
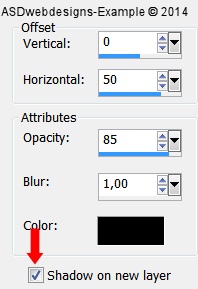
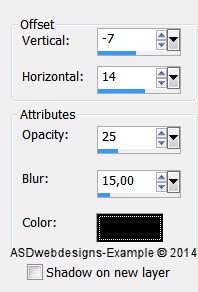
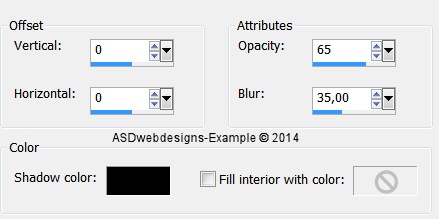
Effects 3D Effects - Dropshadow -
Color #000000
- Shadow on new Layer
checked!
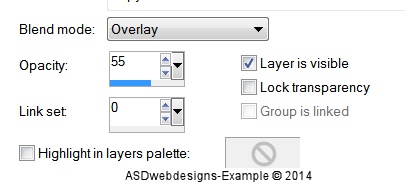
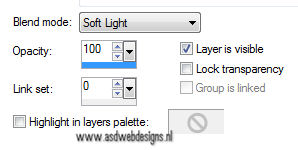
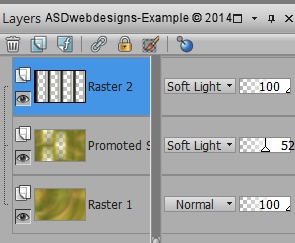
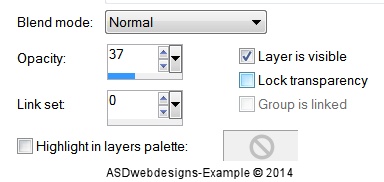
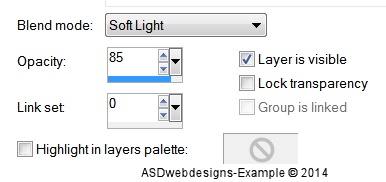
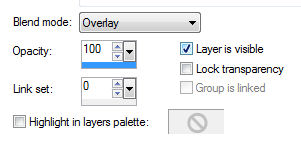
Layer Palette - Double click on
this Layer and set the Blend Mode to "Soft Light" and the
Layer Opacity to 85
Selections - Select -
None
Layers -
Duplicate
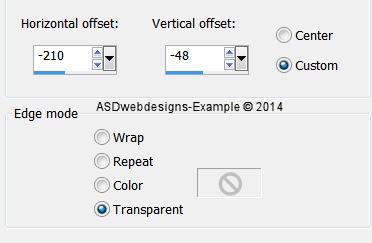
Image -
Mirror
23
Color Palette:
Change the Foregroundcolor to
#ffffff 
Layer Palette - Click on the Top
Layer
Layers - New Raster Layer
Selections -
Load/Save Selection - Load Selection From Disk
-
Msb_Sel_Apples_01
Fill the Selection with
the Foregroundcolor
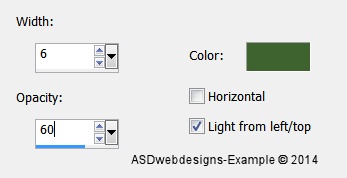
Effects - Plugins - Alien Skin Eye
Candy 5 - Impact - Glass -
Settings Tab: Preset
Clear
Selections -
Select None
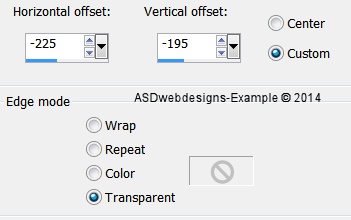
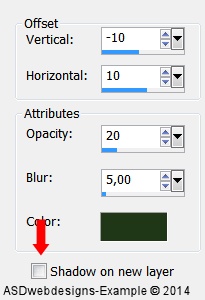
Effects 3D Effects - Dropshadow -
Color #213718

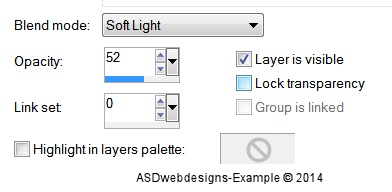
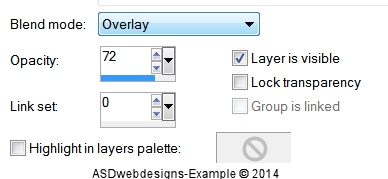
Layer Palette - Double click on this Layer and set
the Blend Mode to "Overlay"
24
Maximize Tube "kittys-Karcia" from
Tray
Edit - Copy
On your work image: Edit - Paste
As New Layer
Image - Resize - 63% - Resize all
Layers not checked
Move to the
Right like this:
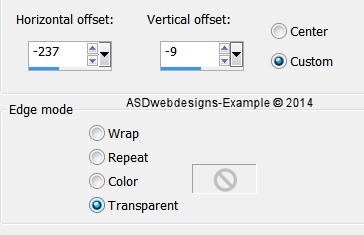
Adjust - Sharpness - Sharpen
Effects 3D Effects - Dropshadow -
Color #000000
25
Maximize Tube "Msb_Text_Apples" from
Tray
Edit - Copy
On your work image: Edit - Paste
As New Layer
Move to the Left like this:
Layers - Duplicate
Layer Palette - Click on the original text
Layer
Effects - Distortion Effects - Wind - From
Left checked - Wind Strength: 80
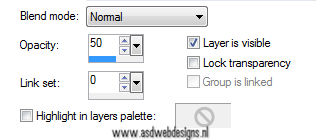
Layer Palette -
Double click on this Layer and set the
Layer Opacity of this Layer to 50
26
Color Palette: Set your
Foregroundcolor to #213718
and set to the same Gradient we used before 
Image - Add Borders - Symmetric
checked - 1 px - #213718
Image - Add Borders - Symmetric
checked - 2 px - #9b9620

Image - Add Borders - Symmetric
checked - 1 px - #213718
Selections - Select All
Image - Add Borders - Symmetric
checked - 50 px - #9b9620
Selections - Invert
Layers - New Raster Layer
Fill the Selection with the Gradient
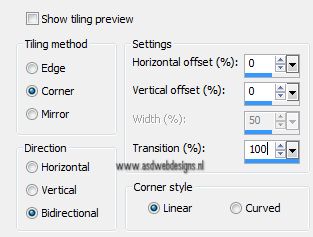
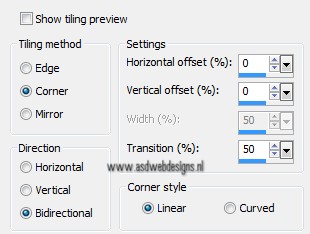
Effects - Plugins -
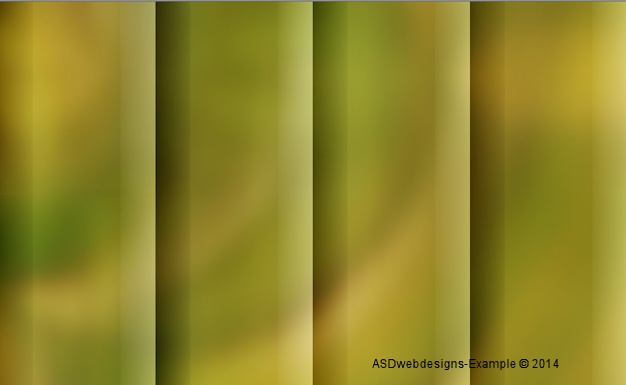
MuRa's Seamless -
Duplicate
Keep selected
27
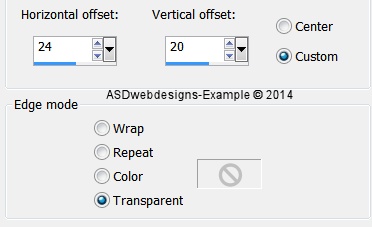
Layers -
Duplicate
Image -
Mirror
Selections - Defloat
Layer Palette -
Double click on this Layer and set the
Layer Opacity of this Layer to 50
Layers - Merge -
Merge Down
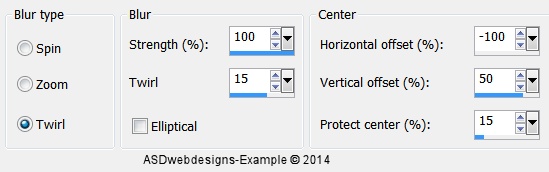
Effects - Edge Effects -
Enhance
Keep selected
28
Layers - New Raster
Layer
Effects 3D Effects - Cutout -
Color #000000
Layers - Merge - Merge all
(Flatten)
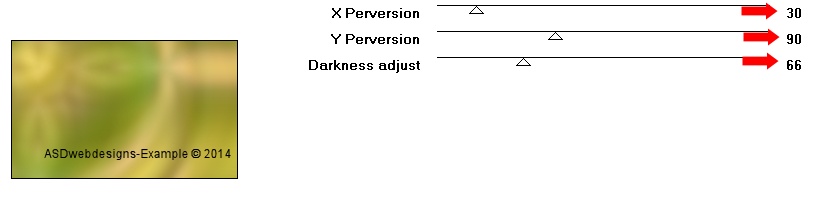
Effects - Plugins - Graphics
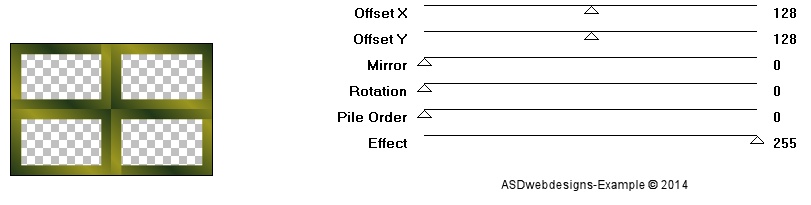
Plus - Cross Shadow - Default settings (6 x 50
& 2 x 128)
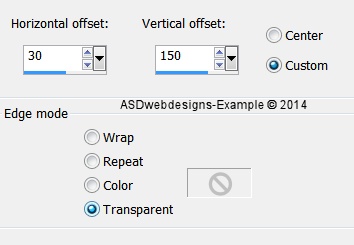
Selections - Modify - Expand -
4 px
Effects 3D Effects - Dropshadow -
Color #000000
Selections - Select
None
29
Image - Add Borders - Symmetric
checked - 1 px - #213718
Image - Add Borders - Symmetric
checked - 2 px - #9b9620
Image - Add Borders - Symmetric
checked - 1 px - #213718
30
Image - Resize - Width
900 Pixels - Resize all Layers
checked
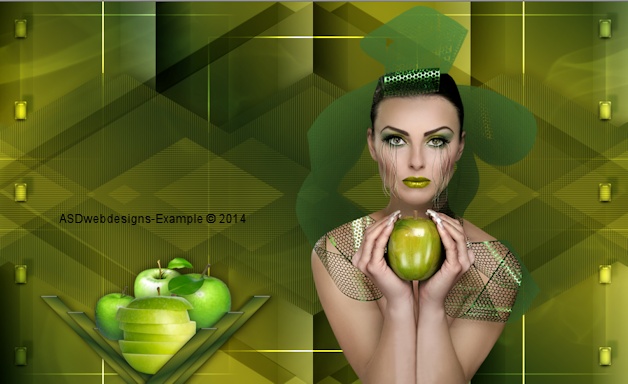
Add your name or watermark, save as JPG
file and you're done!
If you wish you can post
your result on my Facebook Page