Edit - Copy
On your work
image: Edit - Paste as New
Layer
No need to move
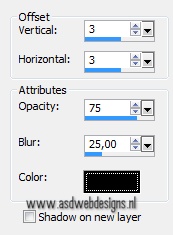
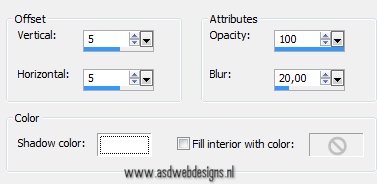
Effects 3D Effects -
DropShadow - Color: #000000 
04
Open Mask "@nn_211112_mask_210_tdstudio"
Window - Duplicate (or shift+D) - Close
the original and proceed on the copy
Layers - Promote Backgroundlayer
Effects - Plugins - Transparency -
Eliminate Black
Edit - Copy
On your work
image: Edit - Paste as New Layer
Image - Resize - 65% - Resize all
layers not checked
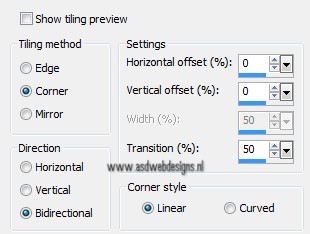
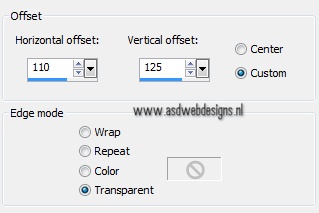
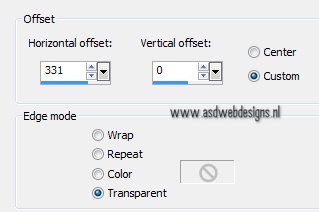
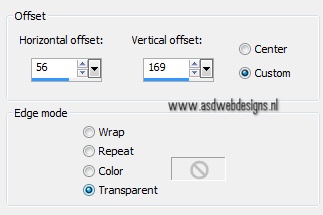
Effects - Image Effects -
Offset
Effects 3D Effects - Cutout - Color
#ffffff 
Layers - Arrange - Move
Down
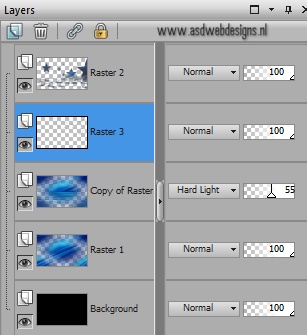
Your work and Layer Palette look
like this now:
05
Layer Palette - Click on the top
layer
Layers - New Raster Layer
Fill with the Foregroundcolor

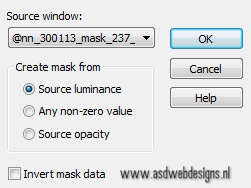
Layers - New Mask Layer - From Image
-
@nn_300113_mask_237_tdstudio
Layers - Duplicate
Layers - Merge - Merge Group
Image - Negative Image
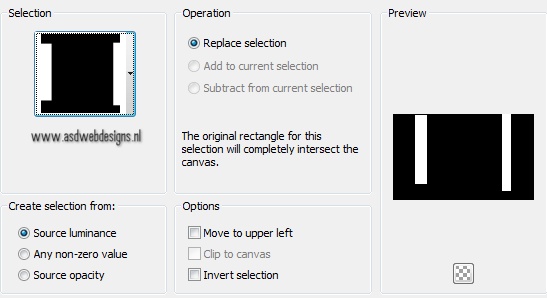
Selections - Load/Save Selection - Load
Selection From Disk -
MDlessen-selectie128
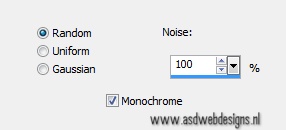
Adjust - Blur - Gaussian Blur -
30
Selections - Select
None
06
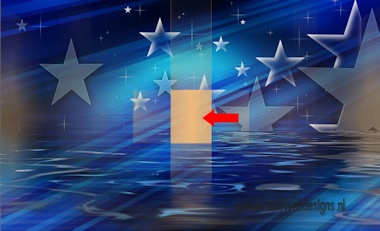
Color Changer Tool 
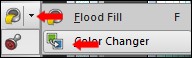
Click with your Backgroundcolor
(Right Mouse Click)
on the peach colored
rectangle
It looks like this
now:
07
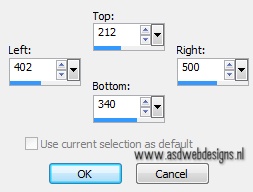
Selection Tool - Rectangle
 - Custom Selection:

Selections - Promote Selection to
Layer
Selections - Select
None
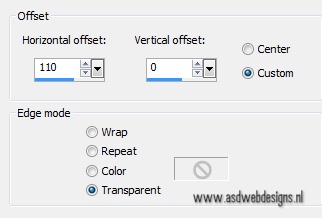
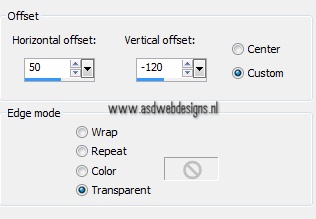
Effects - Image Effects -
Offset
08
Layers - Duplicate
Image - Mirror
Layers - Duplicate
Effects - Image Effects -
Offset
Layers - Merge - Merge
Down
Repeat two
times
09
Color Palette: Swap Materials
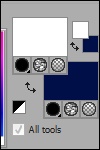 and change the
Backgroundcolor to #001147
and change the
Backgroundcolor to #001147 
Lock the Foregroundcolor
Text Tool  Font Bodoni MT - Size
150 - Units: Pixels
- Font Style: Bold - Stroke
Width 2 - Create as: Vector -
Miter Limit 2
Font Bodoni MT - Size
150 - Units: Pixels
- Font Style: Bold - Stroke
Width 2 - Create as: Vector -
Miter Limit 2
Type a 2 and place it in the first
square
Layers - Convert to Raster Layer
Move into the middle of the
Rectangle