02.
Layers - New Raster Layer
Selections- Select all
Selections - Modify - Contract - 85
px
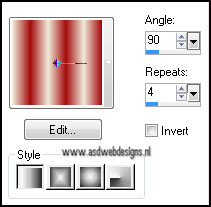
Change your foregroundcolor to
Foreground/Background Gradient (Corel_06_029) - Style: Linear
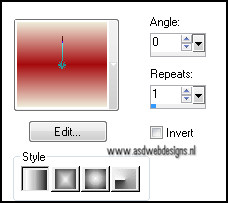
Fill
the selection with the gradient
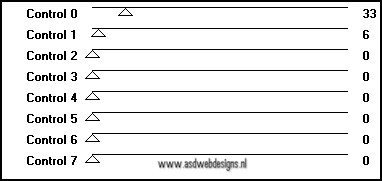
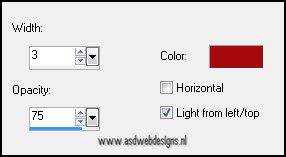
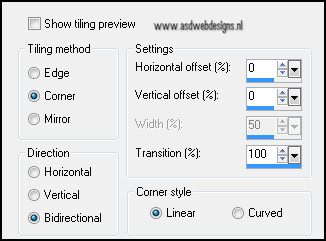
Effects - Texture Effects - Blinds -
Color #a50b0e
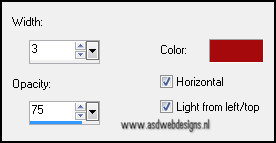
Effects - Texture Effects - Blinds -
Color #a50b0e
Selections - Select None
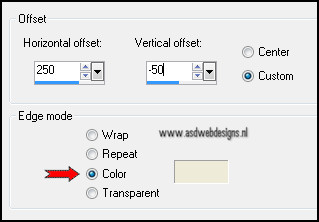
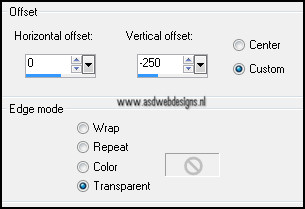
Effects - Image Effects - Offset
- Color #efebd9
Effects - Image Effects -
Seamless Tiling
Effects 3D Effects -
Dropshadow - 10 - Minus 10 - 65 - 25 - #000000
03.
Layers - Duplicate
Image - Mirror
Layer Palette - Set the Blend Mode of
this layer to "Overlay"
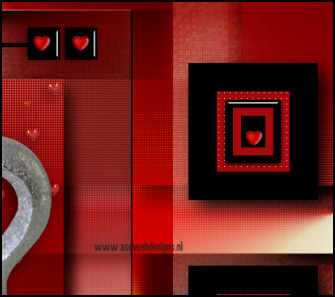
04.
Layers - Duplicate
Layer Palette - Set the Blend
Mode of this layer to "Multiply"
Layers - Merge - Merge
Visible
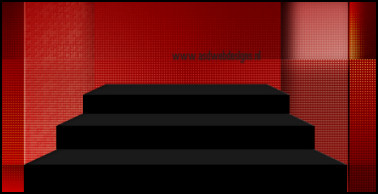
05.
Layers - New Raster Layer
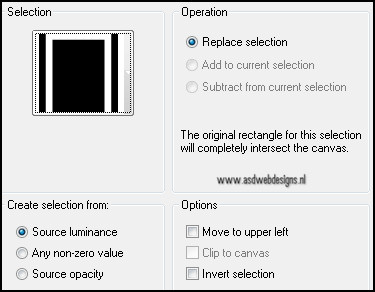
Selection Tool -
Rectangle  - Custom
Selection:
- Custom
Selection: 
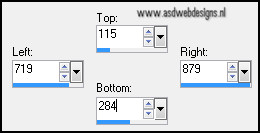
Fill the selection with
#000000
Selections - Modify - Contract -
35 px
Layers - New Raster Layer
Fill with #a50b0e
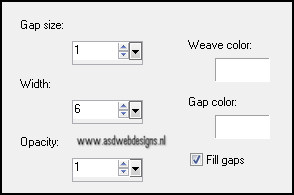
Effects - Texture Effects -
Weave
Selections - Modify - Contract -
10 px
Layers - New Raster Layer
Fill the selection with
#000000
Selections - Modify - Contract -
10 px
Fill with #a50b0e
Selections - Modify - Contract -
10 px
Fill with #000000
Selections - Select None
Effects - Plugins -
Alien Skin Eye Candy 5 - Impact -
Glass - Settings Tab: Click
on Factory Default and next on
preset Clear
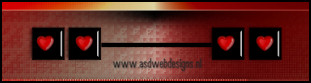
Layers - Merge - Merge Down - Repeat
Once
06.
Layers - Duplicate
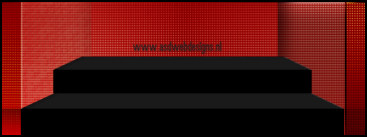
Effects - Image Effects - Offset
Layers - Merge - Merge Down
Effects - Plugins - Alien
Skin Eye Candy 5 - Impact - Perspective Shadow
- Settings Tab: Dropshadow
Blurry.
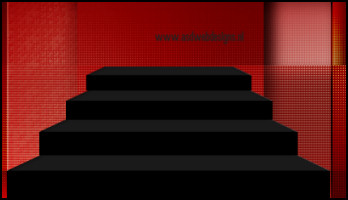
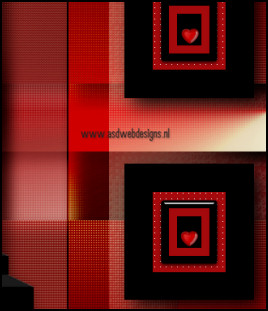
07.
Layers - Duplicate
Image - Mirror
Image - Resize - 80% - Resize
all layers not checked
Move
a little to the left:
Layers - Merge - Merge Down
08.
Layers - New Raster Layer
Selections - Load/Save Selection -
Load selection from disc -
MDlessen-selectie23
Selections - Modify - Expand -
1px
Fill
with #000000
Selections - Select None
Layer Palette - Set the Blend Mode of
this layer to "Overlay"
09.
Layers - New Raster Layer
Selections - Load/Save Selection -
Load selection from disc - MDlessen-selectie24
- Same settings as before
Fill
with #000000
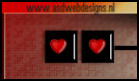
Effects - Plugins - Alien
Skin Eye Candy 5 - Extrude -
Settings Tab - Preset MDlessen-love
Selections - Select None
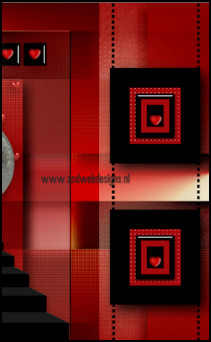
10.
Layers - Duplicate
Image - Resize - 80% - Resize
all layers not checked
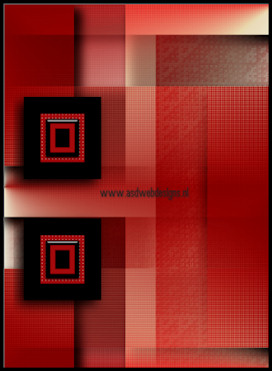
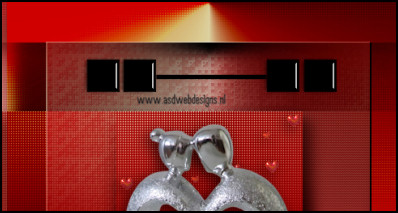
Move
on top of the other like this:
11.
Layers - Duplicate
Image - Resize - 80% - Resize
all layers not checked
Move
on top of the other like this:
12.
Layers - Duplicate
Image - Resize - 80% - Resize
all layers not checked
Move
on top of the other like this:
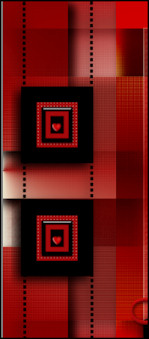
13.
Layers - Duplicate
Image - Resize - 80% - Resize
all layers not checked
Move
on top of the other like this:
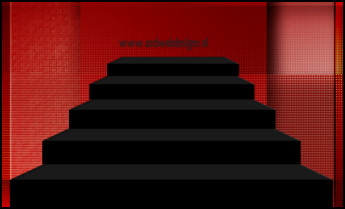
Layers - Merge - Merge Down - Repeat
3 times
Effects 3D Effects - Dropshadow -
5 - Minus 5 - 65 - 25 - #000000
14.
Open Tube "LittleHearts" - Copy
and paste as new layer on your image.
Move like this:

Layers - Duplicate
Move a little down:
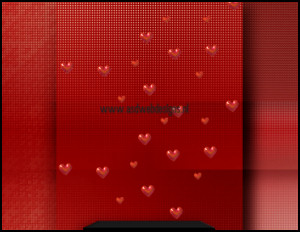
Layers - Merge - Merge Down
Effects 3D Effects -
Dropshadow - 5 - Minus 5 - 65 - 25 - #000000
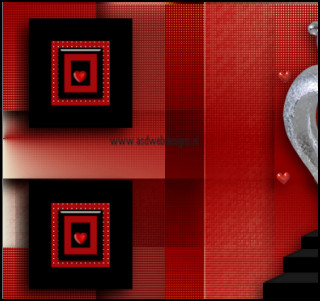
15.
Open Tube "SvB Valentijn"
- Copy and paste as new layer on your image.
Image - Resize - 50% -
Resize all layers not checked
Move like this:

Effects 3D Effects -
Dropshadow - 5 - Minus 5 - 65 - 25 - #000000
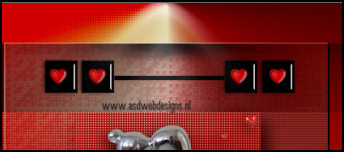
16.
Open Tube "Monaiekje -Tube
14-deco2" - click on layer 1 - Copy and paste as
new layer on your image.
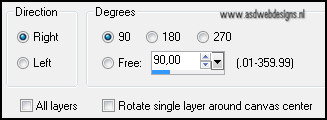
Image - Free Rotate
Move to the top like this:
17.
Open
Tube "SingleHeart" - click on layer 1 - Copy and paste as
new layer on your image.
Image - Resize - 30% - Resize
all layers not checked
Move
to the top like this:

18.
Layers - Duplicate
Move
like this:
Layers - Merge - Merge Down
Layers - Duplicate
Move
like this:
19.
Edit
- Paste as new layer on your image * tube is still in your PSP
memory)
Image - Resize - 30% - Resize
all layers not checked
Move
to the right top like this:
20.
Layers - Duplicate
Move
l to the bottom ike this:
Layers - Merge - Merge Down
21.
Layers - Duplicate
Image - Mirror
Image - Resize - 80% - Resize
all layers not checked
Move
like this:
22.
Open
Tube "young_love_loveheartcenter_wordart_candy" - click
on layer 1 - Copy and paste as new layer on your
image.
Image - Resize - 70% - Resize
all layers not checked
Move
like this:
Effects 3D Effects -
Dropshadow - 5 - Minus 5 - 65 - 25 - #000000
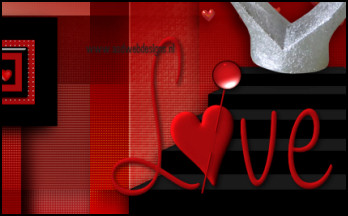
23.
Open
Tube "light- love" - click on layer 1 - Copy and paste as
new layer on your image.
Move
to the top like this:
24.
** Pen Tool
 - Mode: Draw Lines and Poly
Lines - Create as Vector
checked - Linestyle Dot -
Width 5
- Mode: Draw Lines and Poly
Lines - Create as Vector
checked - Linestyle Dot -
Width 5
Hold down your shift
key ( to get a straight line) and
make two lines like this:
Layers - Convert to Raster Layer
Effects 3D Effects -
Dropshadow - 5 - Minus 5 - 65 - 25 - #000000
**
25.
Repeat from ** - to **
at the left side:
Layers - Merge - Merge Down
Layers - Arrange - Send to
Bottom
Layers - Arrange - Move
Up
26.
Image - Add Borders - Symmetric
- 1 px - #000000