The
tutorial:
01
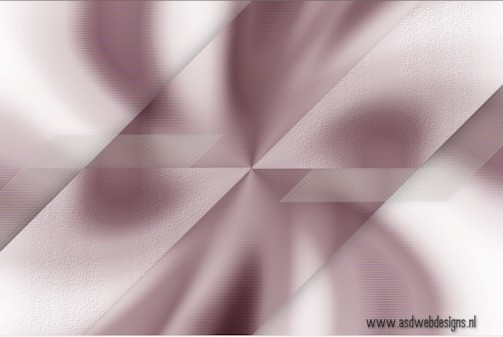
Open a New
Transparent image of 900 x 600 px
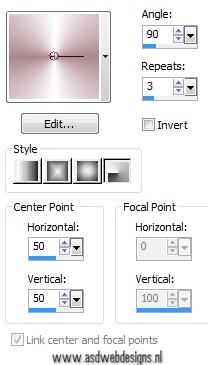
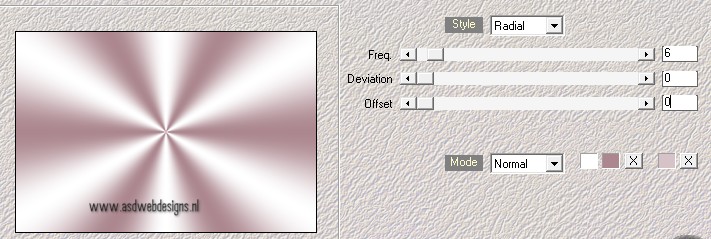
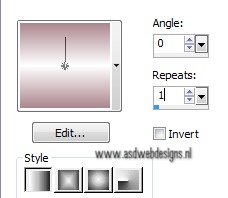
Fill with the
Gradient 
Effects - Plugins - Mehdi - Wavy
Lab
Effects - Plugins - <ICNET
Software> Filters
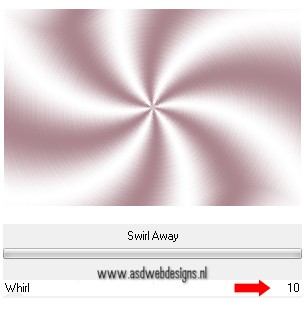
Unlimited - &Bkg Kaleidoscope> -
Swirl Away
Adjust - Blur -
Gaussian Blur - 40
02
Layers - Duplicate
Effects - Plugins – Simple –
Horizontal Grain
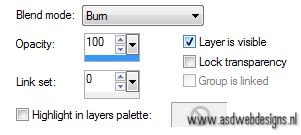
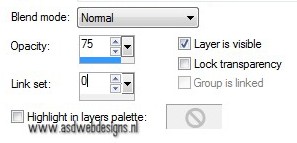
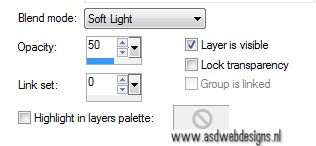
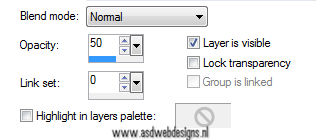
Layer Palette - Double click on this Layer and set
the Blend Mode to
"Burn"
Effects - Edge Effects - Enhance
Layers - Merge - Merge Visible
03
Layers - Duplicate
Effects - Plugins -
Tramages -
Heightline
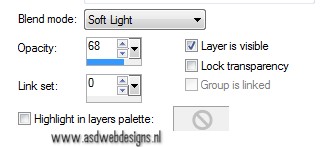
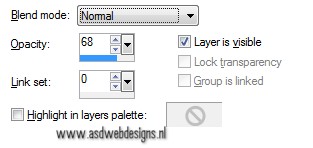
Layer Palette - Double click on this Layer and set
the Blend Mode to
"Soft Light" and the Layer Opacity to
68
Layers
- Merge - Merge Visible
04
Layers - Duplicate
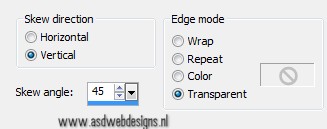
Effects - Geometric Effects -
Skew
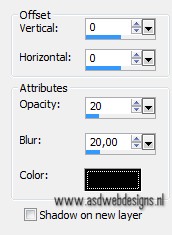
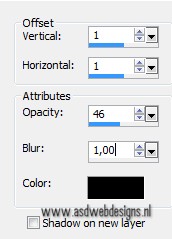
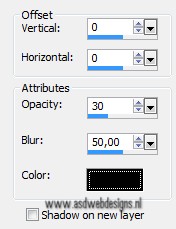
Effects 3D Effects -
DropShadow - Color: #000000 
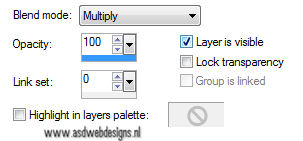
Layer Palette - Double click on this Layer and set
the Blend Mode to
"Multiply"
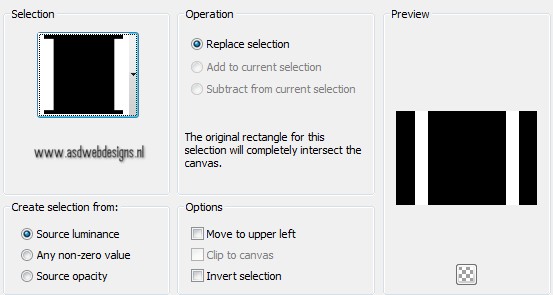
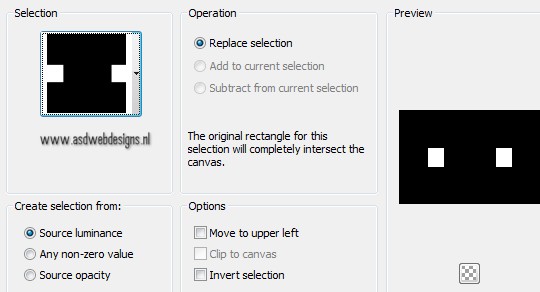
Selections - Load/Save Selection
- Load Selection From Disk -
Msb_Sel_Mahika_01
Selections - Promote Selection to
Layer
Selections - Select None
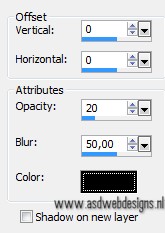
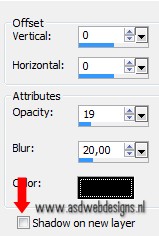
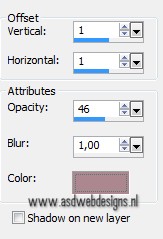
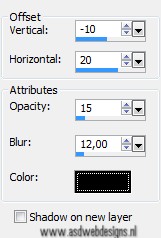
Effects 3D Effects -
DropShadow - Color: #c8c4ba
 - Shadow on new
layer checked!
- Shadow on new
layer checked!
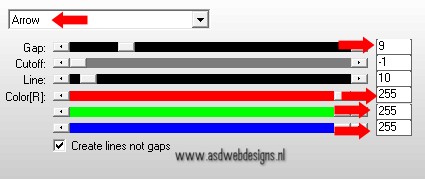
Effects - Plugins - AP [Lines]
- Lines - SilverLining - Arrow
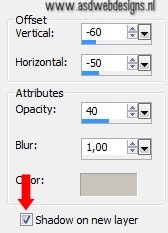
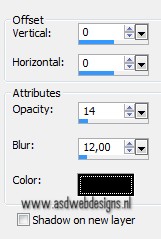
Effects 3D Effects -
DropShadow - Color: #000000
06
Layer Palette - Click on the top
layer
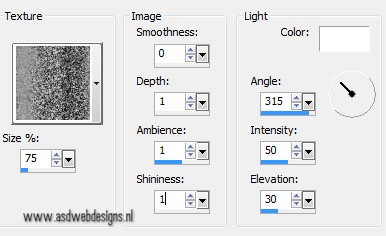
Effects - Texture Effects - Texture
-
winnitexture148
Effects 3D Effects -
DropShadow - Color: #000000
Layers - Merge - Merge
Down
07
Layers - Duplicate
Image - Mirror
Image - Flip
Layers - Merge - Merge
Down
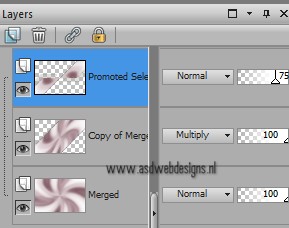
Layer Palette -
Double click on
this Layer and set the Layer
Opacity of this layer to
75
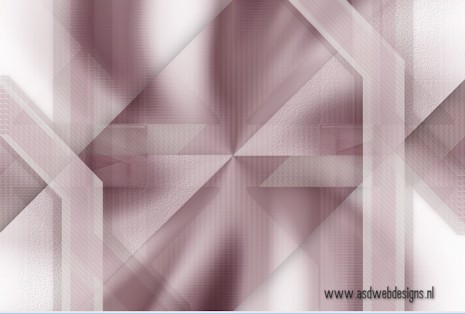
Your work and Layer Palette
look like this now:
08
Layer Palette: Set your
Foregroundcolor back to Color

Layers - New Raster
Layer
Selections - Load/Save Selection
- Load Selection From Disk -Msb_Sel_
Mahika_02
Fill the Selection with the
Foregroundcolor
Selections - Select
None
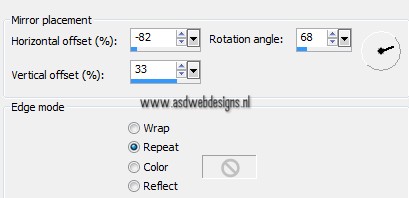
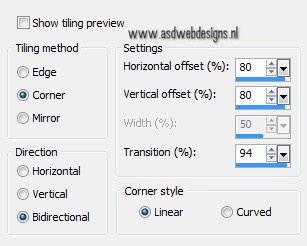
Effects - Reflection
Effects - Rotating Mirror
Effects - Plugins - AP [Lines]
- Lines - SilverLining - Backslash
Effects - Plugins -
Toadies - What Are You? - X-dose
10 - Y-dose 0
09
Layers - Duplicate
Image - Mirror
Image - Flip
Layers - Merge - Merge
Down
Layer Palette -
Double click on this Layer and set the Blend
Mode to "Multiply" and the Layer
Opacity to 50
Effects 3D Effects -
DropShadow - Color: #000000
Layers - New Raster Layer
Selections - Load/Save Selection
- Load Selection From Disk -Msb_Sel_
Mahika_02
Fill with the
Backgroundcolor 
Selections - Select
None
Effects - Reflection
Effects - Rotating Mirror
Layers - Arrange - Move
Down
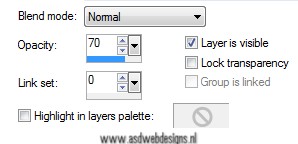
Layer Palette - Double
click on this Layer and set the Layer Opacity of this
layer to 70
11
Color
Palette:
Set your Foregroundcolor
to Foreground/Background Gradient
(Corel_06_029) -Style:
Linear
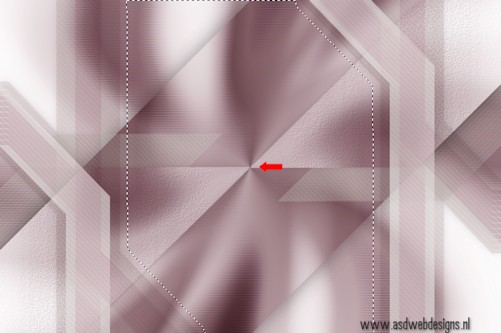
Layer Palette - Click on the top
layer
Magic Wand Tool
 - Mode: Add /Shift
- Tolerance 0 - Contiguous checked -
Anti Alias Checked - Click in
the middle of the image:
- Mode: Add /Shift
- Tolerance 0 - Contiguous checked -
Anti Alias Checked - Click in
the middle of the image:
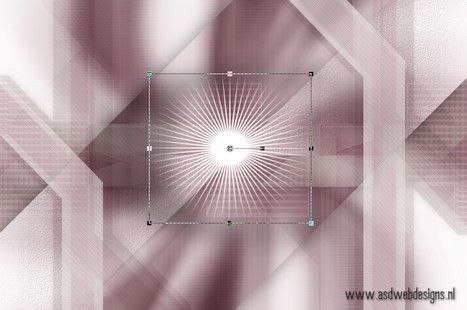
Layers - New Raster Layer
Fill the Selection
with the Gradient 
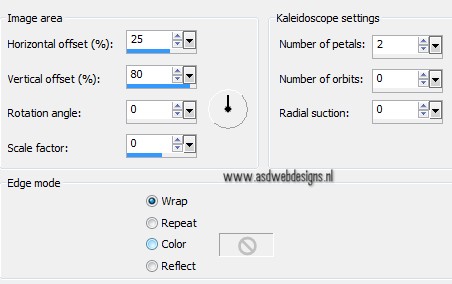
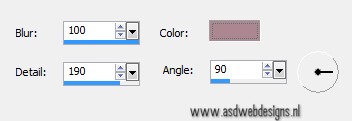
Effects - Reflection Effects -
Kaleidoscope
Effects - Plugins
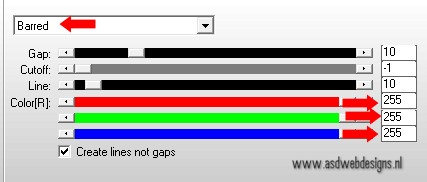
Effects - Plugins - AP [Lines]
- Lines - SilverLining - Barred
Selections - Select
None
Effects 3D Effects -
DropShadow - Color: #000000
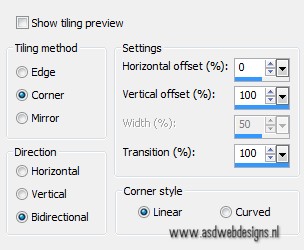
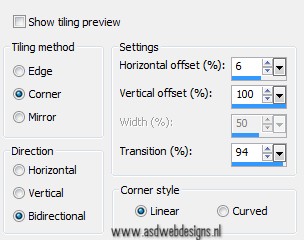
Effects - Image Effects - Seamless
Tiling
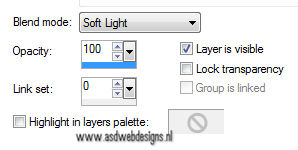
Layer Palette - Double click on this Layer and set
the Blend Mode to
"Soft Light" and the Layer Opacity to
50
Edit - Copy Special
- Copy Merged ( if you do
not have this option - Merge Visible, Copy and
undo the last stap)
12
Layers - New Raster Layer
Selections - Load/Save Selection
- Load Selection From Disk -Msb_Sel_
Mahika_03
Edit - Paste into
Selection
Adjust - Sharpness - Sharpen
More
Effects - Plugins -
Alien Skin Eye Candy 5 - Impact -
Glass - Settings Tab:
Preset
Msb_Preset_AS_GL_23-6-13
Keep
selected
13
Layers - New Raster Layer
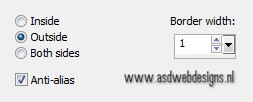
Selections - Modify - Select
Selection Borders
Fill with the
Backgroundcolor
Selections - Select
None
Layer Palette - Double
click on this Layer and set the Layer Opacity of this
layer to 50
Layers - Merge - Merge Down -
REPEAT ONCE!
Adjust - Sharpness - Sharpen
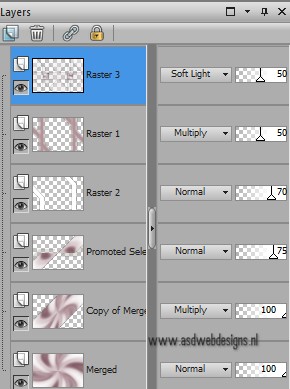
Your work and Layer
Palette look like this
now:
14
Layers - New Raster Layer
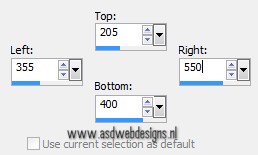
Selection Tool -
Rectangle  - Custom Selection:

Selections - Modify - Select
Selection Borders
Fill the Selection
with the Backgroundcolor
Selections - Select
None
Effects - Image Effects - Seamless
Tiling
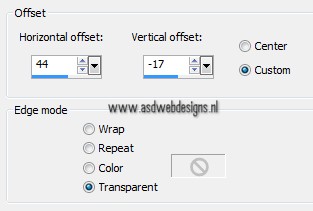
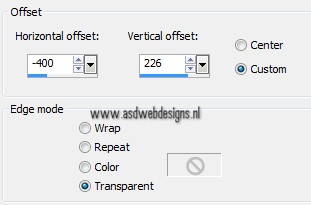
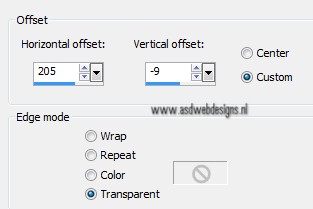
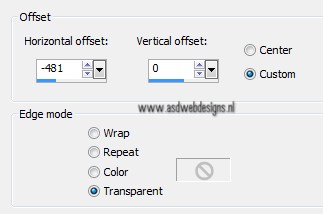
Effects - Image Effects -
Offset
15
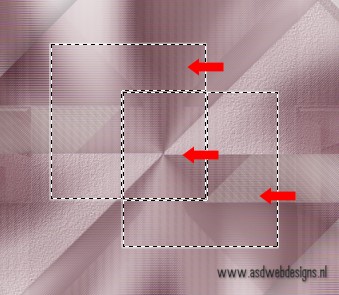
Layer Palette: Set your
Foregroundcolor back to color
Magic Wand Tool - Mode: Add /Shift
- Tolerance 0 - Contiguous checked -
Anti Alias Checked - Click in
the transparent parts like this:
Layers - New Raster
Layer
Fill the selections with the
Foregroundcolor
Layers - Arrange - Move
Down
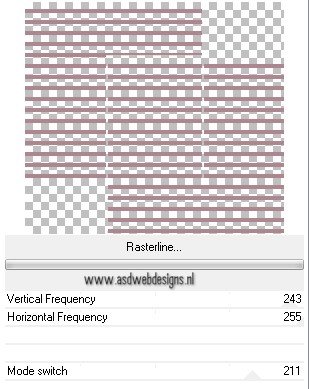
Effects - Plugins -
<I.C.NET Software> - Filters
Unlimited 2.0 - Toadies -
Rasterline ( do not use Toadies
through PSP, it will have a
different outcome!!)
Selections - Select None
Layer Palette - Click on the top
layer
Layers - Merge - Merge
Down
Effects - Image Effects - Seamless
Tiling
Effects 3D Effects -
DropShadow - Color: #000000
Layer Palette - Double click on this Layer and set
the Blend Mode to
"Soft Light"
16
Open Tube "Msb_deco_23-6-13"
Edit - Copy
On your work image: Edit -
Paste
as New Layer
Effects - Artistic
Effects - Colored Foil -
Foregroundcolor
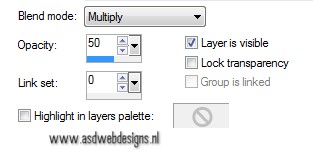
Layer Palette - Double click on
this Layer and set the Blend Mode to
"Multiply"
Preset Shape
Tool  - Starburst 4
  (Part of the "Meer Vormen"
Preset shapes form the
materials)
(Part of the "Meer Vormen"
Preset shapes form the
materials)
Make a shape with the
Backgroundcolor (Right Mouse Click) like
this:
Object - Align - Centre in
Canvas
Hit the M key of your
Keyboard
Layers - Convert to Raster
Layer
Layer Palette -
Double click on this Layer and set the Blend
Mode to
"68"
18
Layers - Duplicate
Effects - Plugins -
Alien Skin Eye Candy 5 - Backlight -
Settings Tab
Msb_Preset_AS_BackL_25-6-13
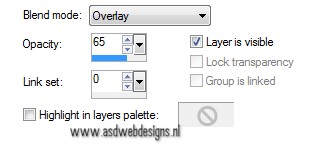
Layer Palette - Double click on this Layer and set
the Blend Mode to
"Overlay" and the Layer Opacity to
65
Layers - Arrange - Move Down
19
Layer Palette - Click on the top
layer
Layers - Duplicate
Image - Resize - 70% - Resize all
layers not checked
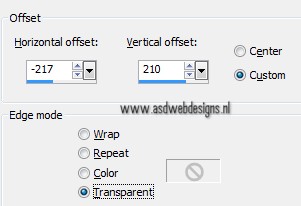
Effects - Image Effects -
Offset
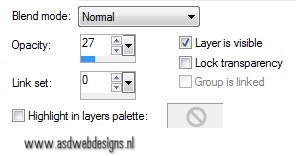
Layer Palette - Double click on this Layer and set the Layer Opacity of this layer to
27
20
Open Tube "Msb_deco_23-6-13_02"
Edit - Copy
On your work image: Edit -
Paste
as New Layer
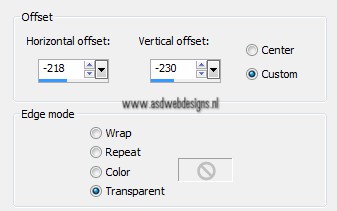
Effects - Image Effects -
Offset
21
Layers - Duplicate
Image - Flip
Layers - Merge - Merge Down
Effects 3D Effects -
DropShadow - Color: #ffffff
Effects 3D Effects -
DropShadow - Color: #000000
22
Open the Notepad from the
materials
Edit - Select All
Edit Copy
Go back to PSP and your work
image
Text Tool  Font Cotillion -
Size 20
Font Cotillion -
Size 20
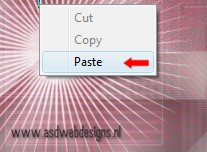
Click with your Right Mouse Button
in your image -
Paste
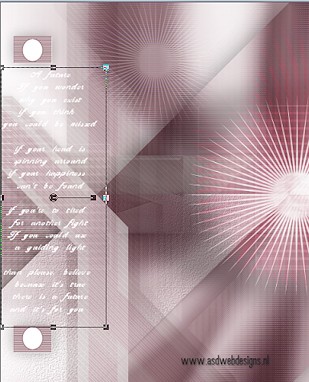
Move to the Left and pull the Top
and Bottom node a little down and
up:
Layers - Convert to Raster
Layer
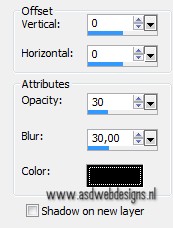
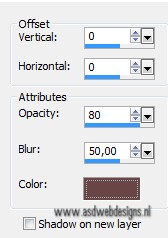
Effects 3D Effects -
DropShadow - Color: #000000
Effects 3D Effects -
DropShadow - Color:
Foregroundcolor
Layers - New Raster
Layer
Fill with the Foregroundcolor
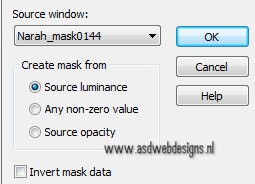
Layers - New Mask Layer - From Image
-
Narah_mask0144
Layers - Merge - Merge Group
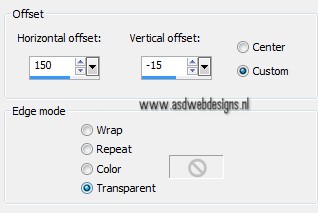
Image - Resize - 105% - Resize all
layers not checked
Effects - Image Effects -
Offset
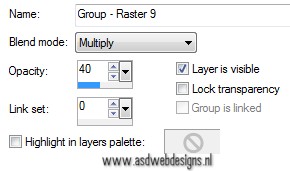
Layer Palette - Double click on this
Layer and set the Blend Mode to
"Multiply" and the Layer Opacity to
40
24
Layers - Duplicate
Image - Mirror
Image - Flip
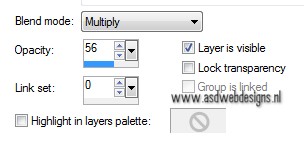
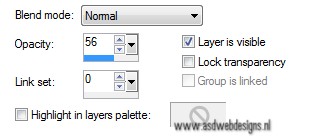
Layer Palette - Double click on this Layer and set the Layer Opacity of this layer to
56
25
Layer Palette - Click on the Bottom
layer
Edit - Copy
Layers - Merge - Merge
all (Flatten)
26
Image - Add Borders - Symmetric
checked - 1 px - Foregroundcolor
Image - Add Borders - Symmetric
checked - 2 px - Backgroundcolor
Image - Add Borders - Symmetric
checked - 1 px - Foregroundcolor
Selections - Select
All
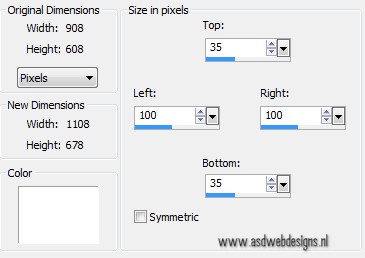
Image - Add Borders - Symmetric not
checked - Backgroundcolor
Selections -
Invert
Edit - Paste into
Selection
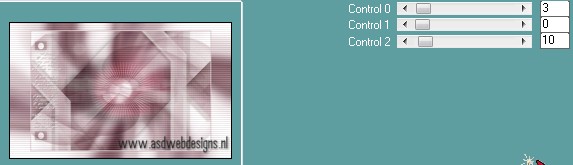
Effects - Plugins -
Carolaine and Sensibility –
CS-HLines
Selections - Promote Selection to
Layer
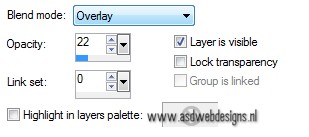
Layer Palette - Double click on this Layer and set
the Blend Mode to
"Overlay" and the Layer Opacity to
22
Layers - Merge - Merge all (Flatten)
Selections - Invert
Effects 3D Effects -
DropShadow - Color: #000000
Selections - Select
None
27
Open Tube "MR_Woman bunch of
Flowers"
Edit - Copy
On your work image: Edit -
Paste
as New Layer
Image - Resize -
77% - Resize all layers not
checked
Effects - Image Effects -
Offset
28
Layers - Duplicate
Effects 3D Effects -
DropShadow - Color: #000000
Layers - Arrange - Move
Down
Layer Palette - Click on the top
layer
Effects 3D Effects -
DropShadow - Color: #000000
29
Open Tube "Msb_deco_23-6-13_03"
Edit - Copy
On your work image: Edit -
Paste
as New Layer
Effects - Image Effects -
Offset
Effects 3D Effects -
DropShadow - Color: #000000
30
Open Tube "Msb_Text_Mahika"
Edit - Copy
On your work image: Edit -
Paste
as New Layer
Effects - Image Effects -
Offset
Effects 3D Effects -
DropShadow - Color: #6b4546 
Layer Palette -
Double click on
this Layer and set the Layer
Opacity of this layer to
56
31
Image - Add Borders - Symmetric
checked - 1 px - Foregroundcolor
Image - Add Borders - Symmetric
checked - 2 px - Backgroundcolor
Image - Add Borders - Symmetric
checked - 1 px - Foregroundcolor
Add your name or
watermark, save as JPG file and you're done!
If you wish you can post
your result on my Facebook Page

Extra Example: Tube by
Annelies from A&K Tubes unlimited. She
shares her great tubes
HERE