Layers - Duplicate
Image - Mirror
Layers - Merge - Merge
Down
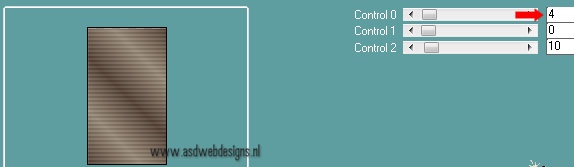
Effects -
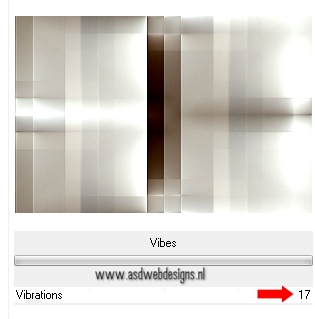
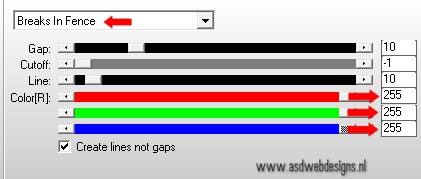
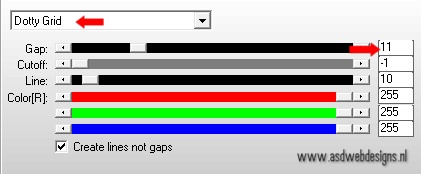
Plugins - AP [Lines] - Lines -
SilverLining
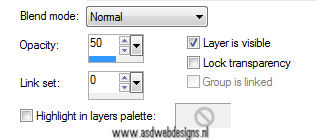
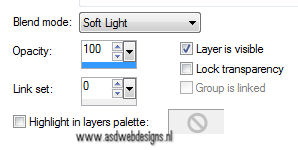
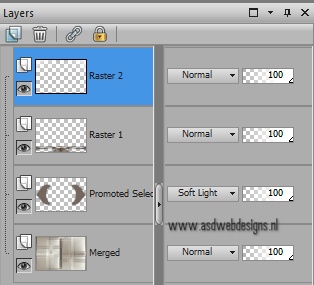
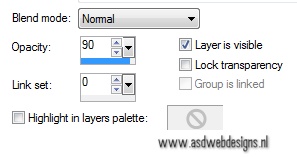
Layer Palette
- Double click on this Layer and set
the Blend Mode to
"Soft Light"
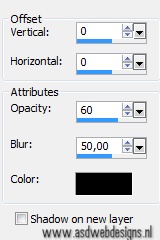
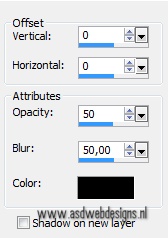
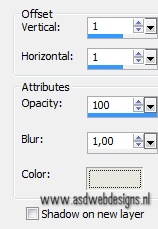
Effects 3D Effects -
DropShadow - Color: #000000 
11
Color Palette:
Change your Backgroundcolor to
#968979 
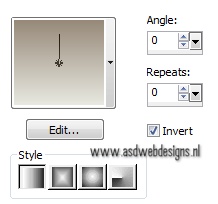
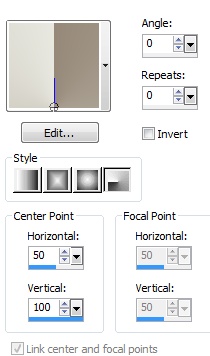
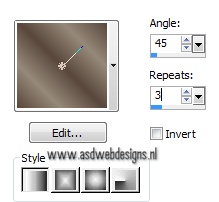
Set your Foregroundcolor to
Foreground/Background Gradient
(Corel_06_029) -Style:
Linear
Layers - New Raster Layer
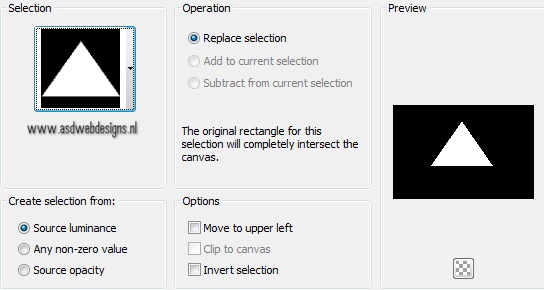
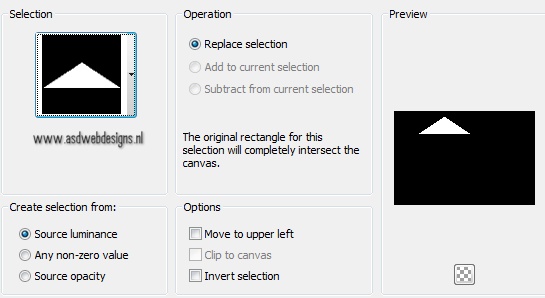
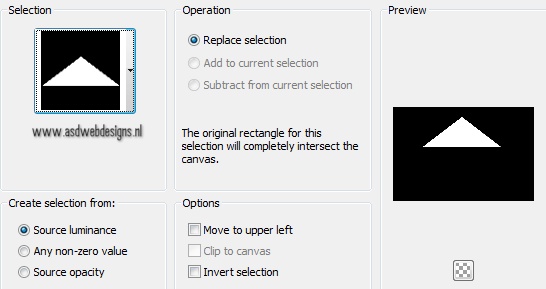
Selections - Load/Save Selection
- Load Selection From Disk -
Msb_Sel_ Life_02
Fill the Selection with the Gradient

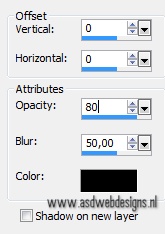
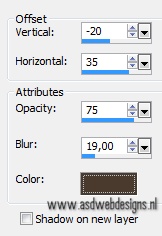
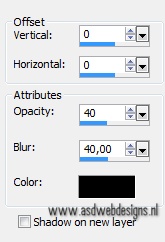
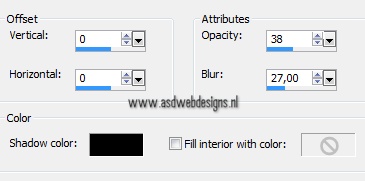
Effects 3D Effects -
DropShadow - Color: #000000
Selections - Select None
12
On the same Layer:
Selections - Load/Save Selection
- Load Selection From Disk -
Msb_Sel_ Life_03
Fill the Selection with the Gradient
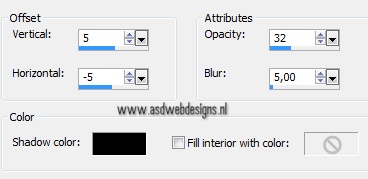
Effects 3D Effects -
DropShadow - Color: #000000
Selections - Select None
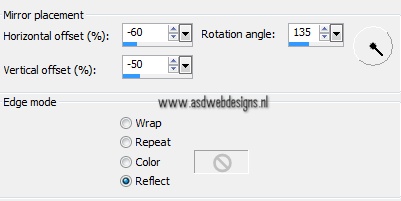
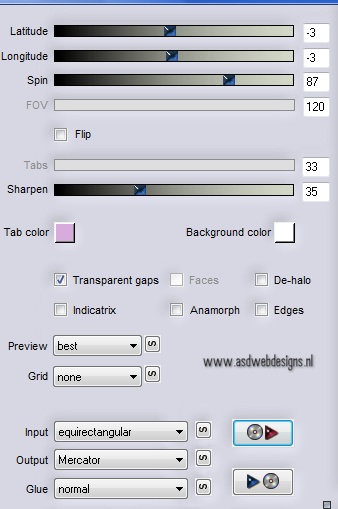
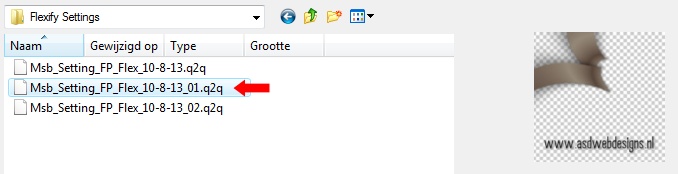
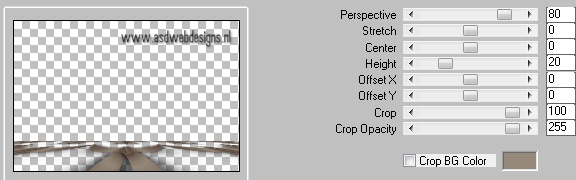
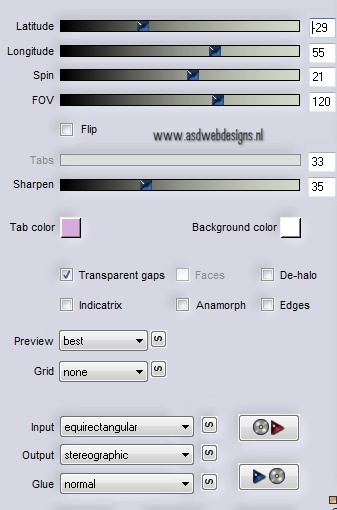
Effects - Plugins - Flaming Pear -
Flexify 2 - Click on the Red Arrow
 and
load Preset
Msb_Setting_FP_Flex_10-8-13_01
and
load Preset
Msb_Setting_FP_Flex_10-8-13_01
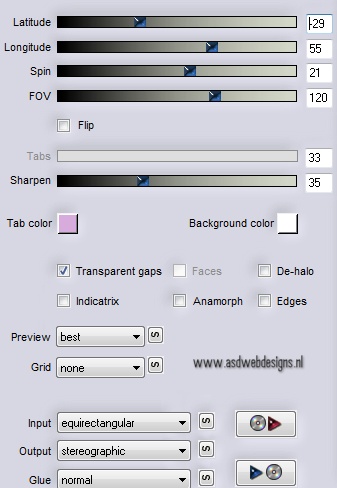
Or if this is not
working for you, use these
settings:
Image - Flip
13
Layers - Duplicate
Image - Mirror
Layers - Merge - Merge
Down
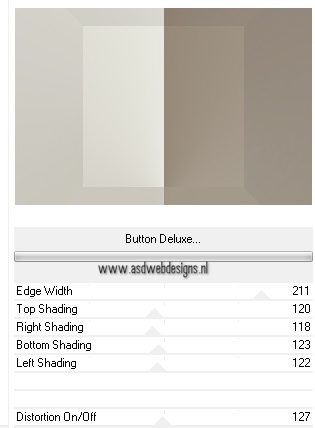
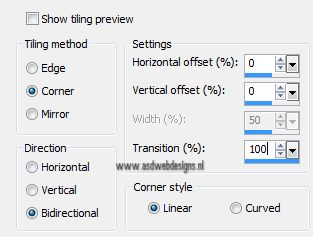
Effects - Plugins - MuRa’s Meister -
Perspective Tiling
Effects -
Plugins - AP [Lines] - Lines -
SilverLining
14
Open
Tube "Msb_Decor_Life_01"
Edit - Copy
On your work image: Edit - Paste
as New Layer
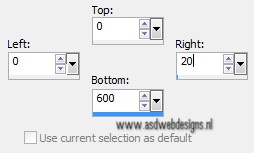
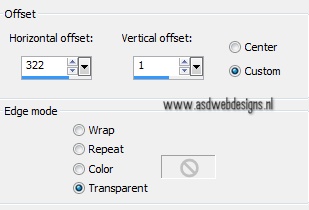
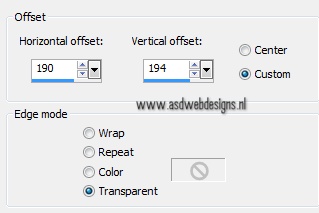
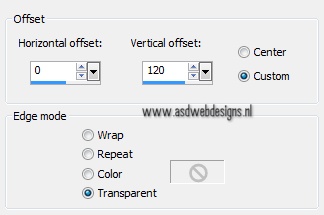
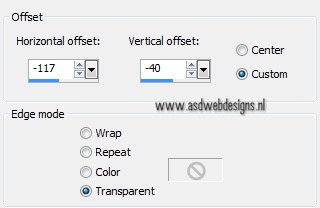
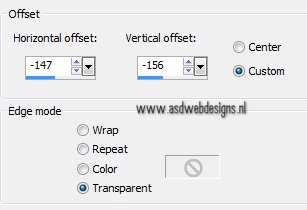
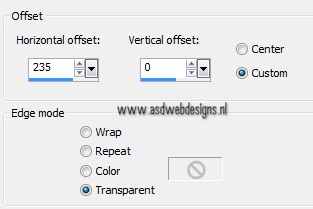
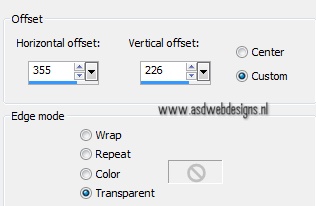
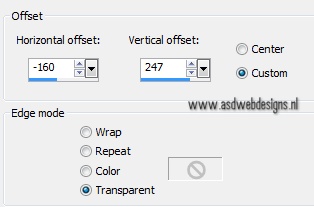
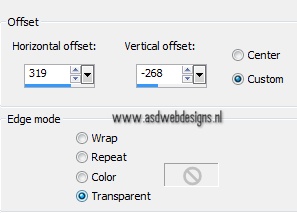
Effects - Image
Effects - Offset
15
Layers - Duplicate
Image - Mirror
Layers - Merge - Merge
Down
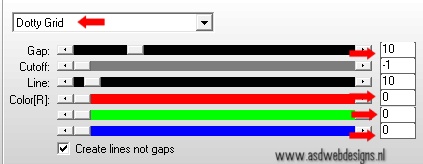
Effects -
Plugins - AP [Lines] - Lines -
SilverLining
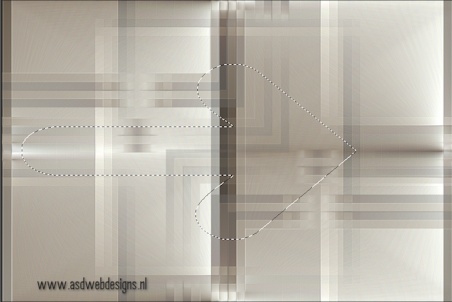
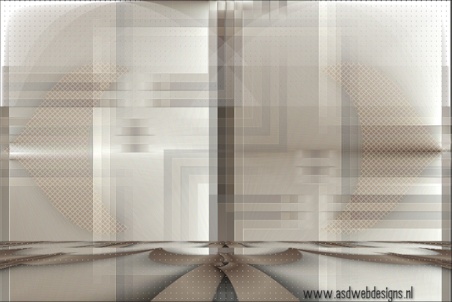
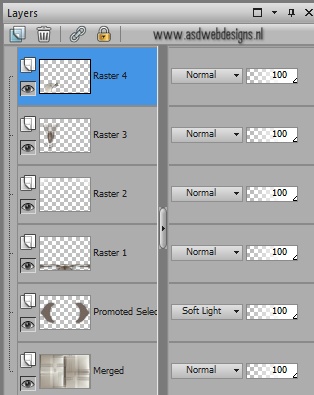
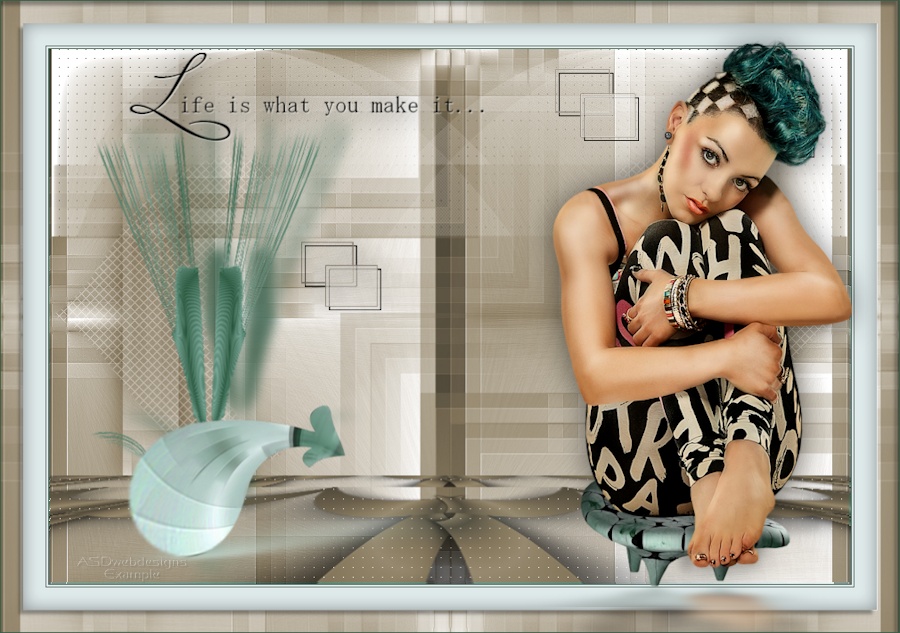
Your work and Layer
Palette look like this
now:
16
Layers - New Raster Layer
Selections - Load/Save Selection
- Load Selection From Disk -
Msb_Sel_ Life_04
Fill the Selection
with the Gradient
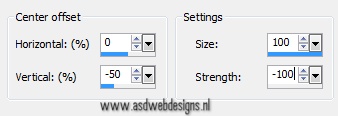
Effects - Plugins - Carolaine and
Sensibility - CS-HLines
Selections - Select None
Image - Resize
- 65% - Resize all layers not
checked
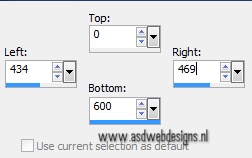
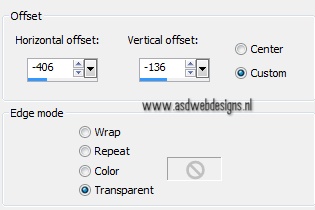
Effects - Image
Effects - Offset
Effects -
Plugins - Alien Skin Eye Candy 5 -
Nature - Drip - Settings Tab:
Preset
Msb_Preset_AS_Nat_Drip_Life_01
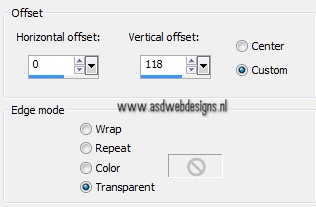
Effects - Image Effects -
Offset
17
Layers - Duplicate
Image - Mirror
Layers - Merge - Merge
Down
Effects -
Distortion Effects - Warp
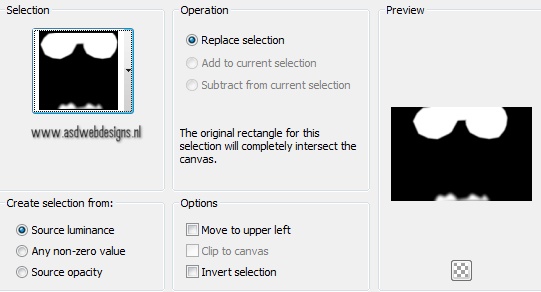
Selections - Load/Save Selection
- Load Selection From Disk -
Msb_Sel_ Life_05
Hit the Delete Key of your Keyboard
three times
Selections - Select None
Image - Flip
Image - Resize
- 90% - Resize all layers not
checked
Effects - Image Effects -
Offset
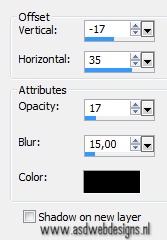
Effects 3D Effects -
DropShadow - Color: #4a3a2e 
Effects -
Plugins - Alien Skin Eye Candy 5 -
Impact - Perspective Shadow - Settings Tab:
Preset
Msb_Preset_AS_IMP_PS_17-8-13
18
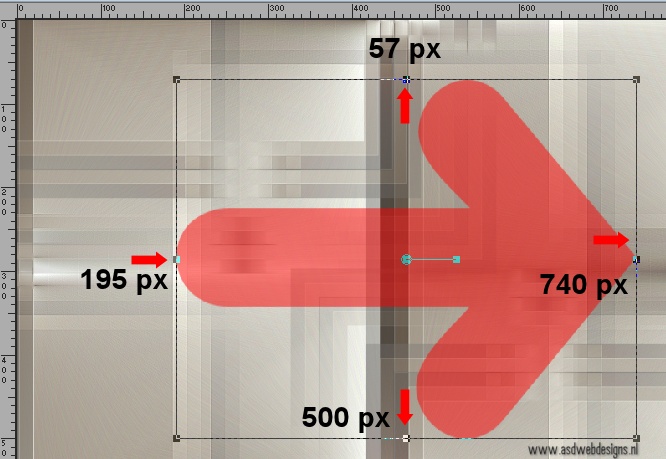
Maximize the Arrow
you have made before
Edit - Copy
On your work image: Edit - Paste
as New Layer
Effects - Plugins - Flaming Pear -
Flexify 2 - Click on the Red Arrow
and
load Preset
Msb_Setting_FP_Flex_10-8-13_02
Or if this is not
working for you, use these
settings:
Image - Resize - 50% - Resize all
layers not checked
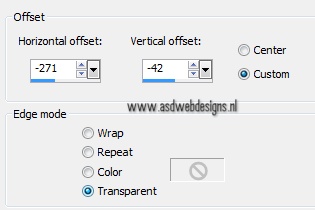
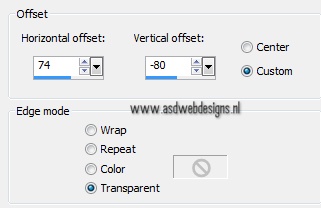
Effects - Image Effects -
Offset
Effects -
Plugins - Alien Skin Eye Candy 5 -
Impact - Perspective Shadow - Settings Tab:
Preset
Msb_Preset_AS_IMP_PS_17-8-13_02
Effects -
Plugins - Adjust - Variations - Click once on
"Original"- Click twice on
"Darker"
Adjust - One Step
Noise Removal
Your work and Layer
Palette look like this
now:
19
Layer Palette - Click
on the Bottom layer
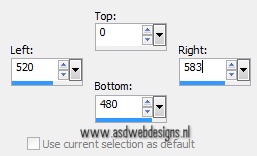
Selection
Tool - Rectangle  - Custom Selection:

Selections - Promote Selection to
Layer
Selections - Select None
Effects 3D Effects -
DropShadow - Color: #000000
Effects - Image
Effects - Offset