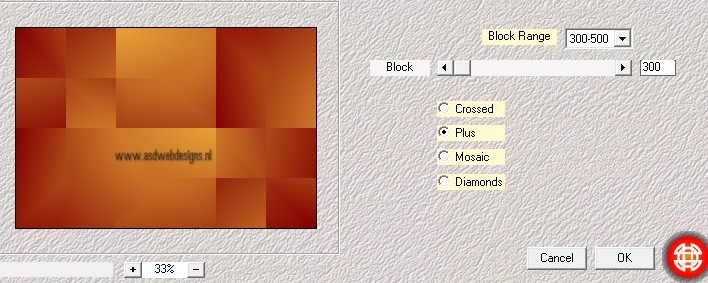
Effects - Plugins - <I.C.NET Software> - Filters
Unlimited - &<Bkg Kaleidoscope> - 4 QFlip
UpperL.
2
Layers
- Duplicate
Image - Free
Rotate - Right - 90°
Image - Resize
- 67% - Resize all layers not
checked
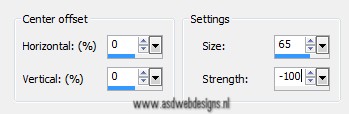
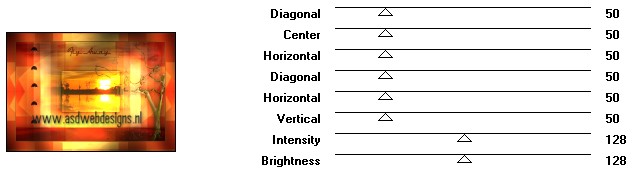
Effects -
Distortion Effects - Warp
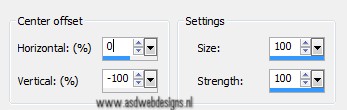
Effects -
Distortion Effects - Warp
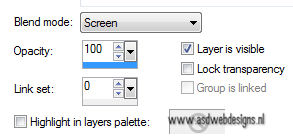
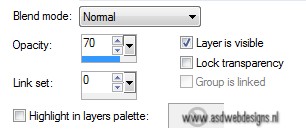
Layer
Palette - Double click on this Layer and set the Blend Mode to
"Screen"
Layers - Merge
- Merge Down
Adjust -
Sharpness - Sharpen
3
Layers
- Duplicate
Image - Free
Rotate - Right - 90°
Image - Resize
- 67% - Resize all layers not
checked
4
Layers
- Duplicate
Image
- Mirror
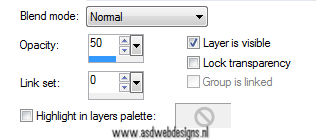
Layer Palette
- Double click on
this Layer and set the Layer
Opacity of this layer to 50
Layers
- Merge - Merge Down
Layer
Palette - Double click on this Layer and set the Blend Mode to
"Screen"
Layers
- Merge - Merge Down
5
Layers
- Duplicate
Image - Flip
Layer Palette
- Double click on
this Layer and set the Layer
Opacity of this layer to 50
Layers
- Merge - Merge Down
Adjust -
Sharpness - Sharpen More
6
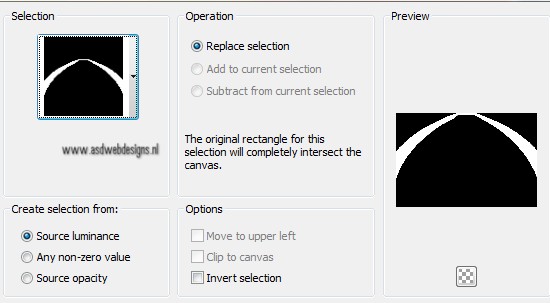
Selections -
Load/Save Selection - Load Selection From Disk
-
Msb_Sel_Fly-Away_01
Selections -
Promote Selection to Layer
Selections -
Select None
Effects
- Plugins - Simple - 4 Way Average (Note: Do not use
through Filters Unlimited, the result will be
different!)
Layers
- Merge - Merge Down
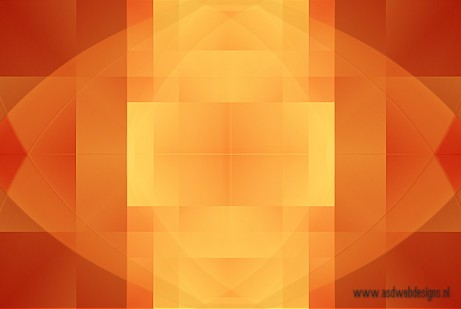
Your work looks like this now:
7
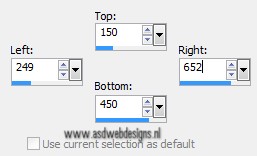
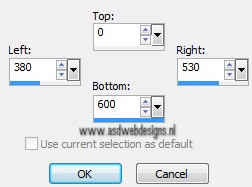
Selection
Tool - Rectangle  - Custom Selection:

Selections -
Promote Selection to Layer
Effects -
Plugins - Alien Skin - SnapArt - Impasto - Settings Tab:
Brush,small
with fine bristles.
Again:
Effects - Plugins - Alien Skin - SnapArtt - Impasto -
Settings Tab: Brush,small
with fine bristles.
Basic tab: Set the Brush Size to
17 
Selections -
Modify - Contract - 25 px
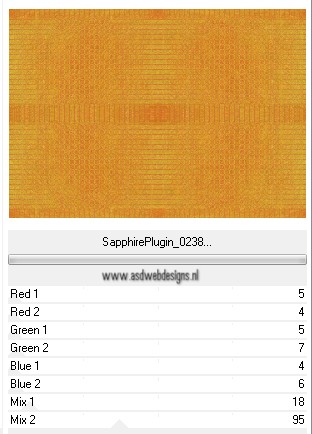
Effects - Plugins - <I.C.NET
Software> - Filters Unlimited - Sapphire Filters 03 -
Sapphire Plugin_0238.
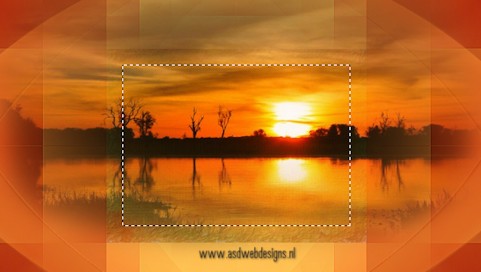
Keep
selected
8
Selections
- Promote Selection to Layer
Open
Tube "calguismiste13092012"
Edit - Copy
On your work image: Edit - Paste
as New Layer
Move to the Selection like
this:
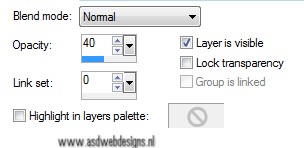
Layer Palette - Double
click on this Layer and set the
Layer Opacity of this layer to
40
Selections - Promote Selection to
Layer
Layer Palette -
Double click on this Layer and set the Layer
Opacity of this layer to 70
Layers - Merge - Merge Down -
REPEAT ONCE
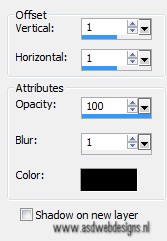
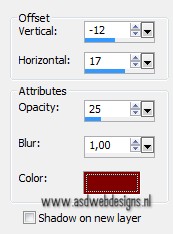
Effects 3D Effects -
DropShadow - Color: #000000 
Repeat with the Vertical and Horizontal
Offset to Minus 1
Effects 3D Effects -
DropShadow - Color: #000000
Selections
- Select None
9
Layer Palette
- Click on the middle layer
Effects 3D Effects -
DropShadow - Color: #000000
Repeat with the Vertical and Horizontal
Offset to Minus 1
Effects -
Plugins - Toadies - What Are You? -
X-dose 20 - Y-dose 20 -
REPEAT ONCE!
Effects - Edge
Effects - Enhance
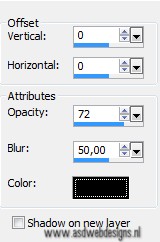
Effects 3D Effects -
DropShadow - Color: #800000 
Effects
3D Effects - DropShadow - Color:
#000000
Layer Palette
- Click on the top layer
Layers - Merge - Merge
Down
Your work looks like this now:
10
Layer Paletter - Set your
Foregroundcolor back to Color and change to #e6e8d2 
Layers - New Raster Layer
Selection Tool - Rectangle
- Custom Selection:
Fill with the Foregroundcolor
Selections
- Select None
Effects - Plugins - Toadies - What
Are You? - X-dose 12 - Y-dose
0 - REPEAT ONCE!
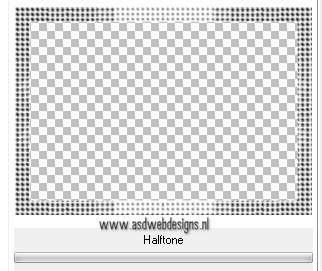
Effects
- Plugins - <I.C.NET Software> - Filters Unlimited
-Special Effects 1 - Halftone.
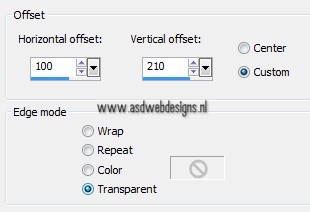
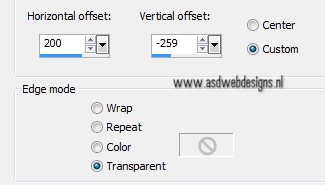
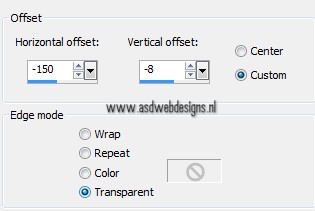
Effects - Image
Effects - Offset
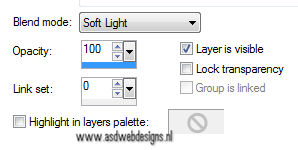
Layer Palette -
Double click on
this Layer and set the Blend Mode
to "Soft Light"
Effects
- Edge Effects - Enhance
Effects
3D Effects - DropShadow - Color:
#000000
Hit
the K Key of your Keyboard and change the settings like this
(only the first ones are important)
Hit
the M Key of your keyboard
Layers - Duplicate
Image - Mirror
11
Layer Palette - Click on the Bottom
layer
Selections -
Load/Save Selection - Load Selection From Disk
-
Msb_Sel_Fly-Away_02
Selections
- Promote Selection to Layer
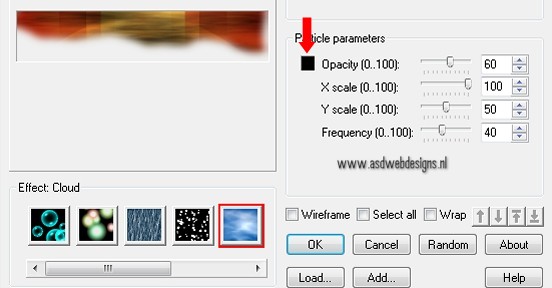
Effects - Plugins
- Ulead - Particle
Note If Ulead is not working for you, the finished PSP image
is in the Materials, Copy and Paste into Selection - Colorize in
your own colors or set the Blend Mode to `Luminance`
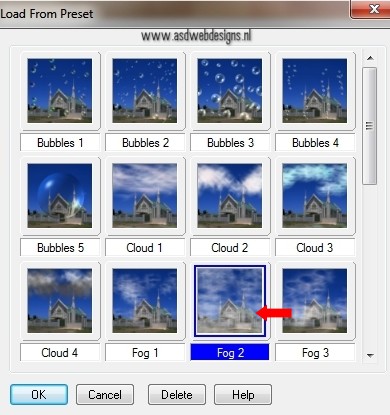
First: Click on Effects - Cloud and next on Load
Click on OK and next change the Color to
#000000
Selections
- Select None
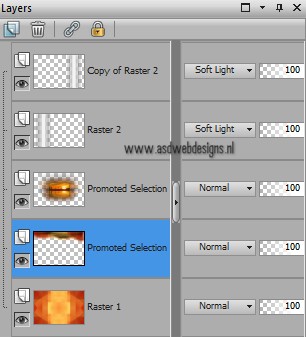
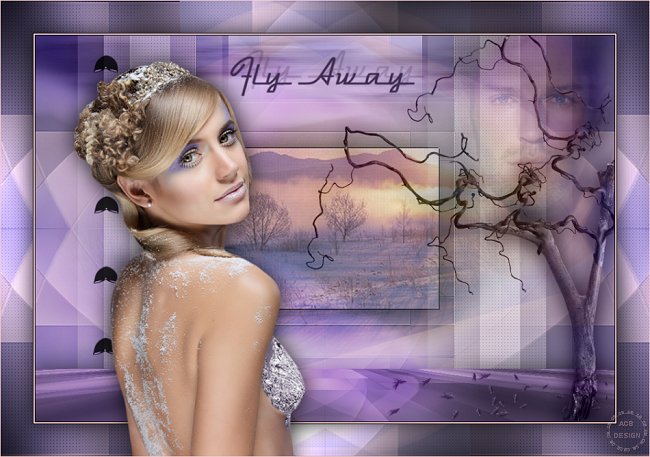
Your work and
Layer Palette look like this now
12
Layer Palette
- Click on the Bottom layer
Edit - Copy
Layer Palette - Click on the Top
layer
Edit - Paste
as New Layer
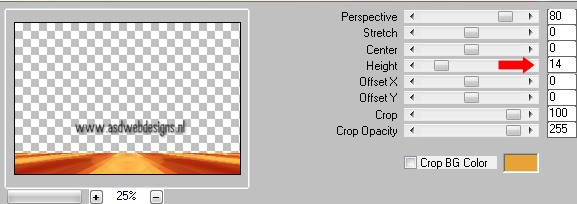
Effects - Plugins - MuRa’s Meister - Perspective
Tiling
Selections - Select
All
Selections -
Float
Selections -
Defloat
Selections -
Promote Selection to Layer
Effects -
Plugins - <I.C.NET Software> - Filters Unlimited -
Color Effects - Colorize (foreground color).
Layer Palette
- Double click on
this Layer and set the Layer
Opacity of this layer to 78
Effects
3D Effects - DropShadow - Color:
#000000
Selections
- Select None
13
Open
Tube "Msb_Deco_01"
Edit - Copy
On your work image: Edit - Paste
as New Layer
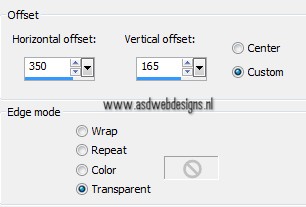
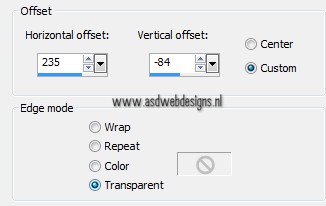
Effects - Image Effects -
Offset.
Open
Tube "Yoka-MIsted-Faces-Guy-020608"
Edit - Copy
On your work image: Edit - Paste
as New Layer
Image - Resize - 80% - Resize all
layers not checked
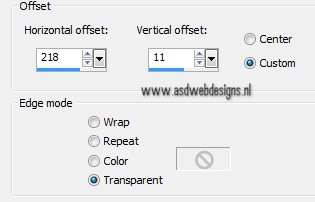
Effects - Image Effects -
Offset.
15
Open
Tube "Msb_Smoke_9-6-13"
Edit - Copy
On your work image: Edit - Paste
as New Layer
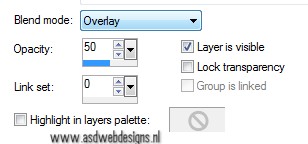
No need to move
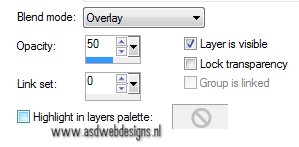
Layer Palette -
Double click on this Layer and set
the Blend Mode to
"Overlay" and the Layer Opacity to
50
16
Open
Tube "Msb_Leaves_9-6-13"
Edit - Copy
On your work image: Edit - Paste
as New Layer
Image - Resize - 68% - Resize all
layers not checked
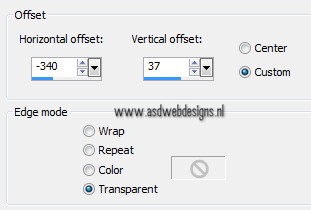
Effects - Image Effects -
Offset.
17
Layers
- Duplicate
Image - Resize - 68% - Resize all
layers not checked
Effects - Image Effects -
Offset.
Layers
- Merge - Merge Down
Adjust
- Sharpness - Sharpen
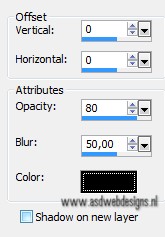
Effects
3D Effects - DropShadow - Color:
#000000
18
Open
Tube "arbre"
Edit - Copy
On your work image: Edit - Paste
as New Layer
Image - Resize - 70% - Resize all
layers not checked
Effects - Image Effects -
Offset.
Effects
3D Effects - DropShadow - Color:
#000000
19
Open
Tube "Msb_Deco_9-6-13_02"
Edit - Copy
On your work image: Edit - Paste
as New Layer
Effects - Image Effects -
Offset.
Adjust
- Sharpness - Sharpen
Effects -
Plugins - Alien Skin Eye Candy 5 -
Impact - Perspective Shadow -
Settings Tab:
Preset Msb_Preset_AS_PS_9-6-13
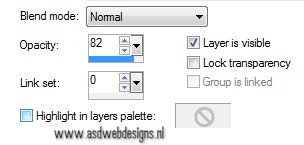
Layer Palette
- Double click on
this Layer and set the Layer
Opacity of this layer to 82
20
Color
Palette - Change your Backgroundcolor to #000000
Text Tool
 Font Dymaxion Script -
Size 60 - Units: Pixels - Font
Style: Bold - Stroke Width 0 - Create
as: Vector
Font Dymaxion Script -
Size 60 - Units: Pixels - Font
Style: Bold - Stroke Width 0 - Create
as: Vector
Type Fly Away
Layers -
Convert to Raster Layer
Move to the top like this
Effects
3D Effects - DropShadow - Color:
#800000
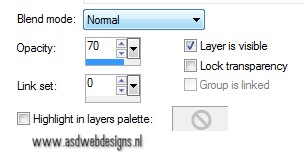
Layer Palette
- Double click on
this Layer and set the Layer
Opacity of this layer to 70
21
Layer Palette
- Click on the Bottom layer
Edit
- Copy!
22
Color Palette - Set your Foregroundcolor to #000000
and your Backgoundcolor to #e7a336 
Image - Add Borders - Symmetric
checked - 1 px - Foregroundcolor
Image - Add
Borders - Symmetric checked - 2 px -
Backgroundcolor
Image - Add
Borders - Symmetric checked - 1 px -
Foregroundcolor
Selections - Select
All
Image - Add
Borders - Symmetric checked - 50 px -
Backgroundcolor
Selections
- Invert
Edit -
Paste into Selection
23
Selections
- Promote Selection to Layer
Effects
- Plugins - <I.C.NET Software> - Filters Unlimited -
Special Effects 1 - Halftone
Effects -
Plugins - Transparency - Eliminate White
Layer Palette
- Double click on
this Layer and set the Blend Mode to
"Overlay" and the Layer Opacity to
50
Layers
- Merge - Merge Down
Effects
- Plugins - Graphics Plus - Cross Shadow
24
Selections -
Invert
Effects
3D Effects - DropShadow - Color:
#000000
Selections
- Select None
25
Open
Tube "Alies
1VR511-woman-01062013"
Edit - Copy
On your work image: Edit - Paste
as New Layer
Effects - Image Effects -
Offset.
Effects
3D Effects - DropShadow - Color:
#000000
Image - Add
Borders - Symmetric checked - 1 px -
Foregroundcolor
Image - Resize
- Width 950 Pixels - Resize all layers
checked
Adjust
- Sharpness - Sharpen
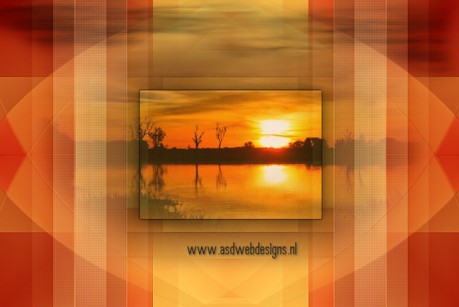
27
Add your name
or watermark, save as JPG file and you're done!
If you wish
you can post your result on my Facebook Page

Extra
Example
Tube by
Annelies from A&K Tubes unlimited. She shares
her great tubes HERE