01
Open
a new transparent image of 800 x
600 px
Fill with the Foregrundcolor

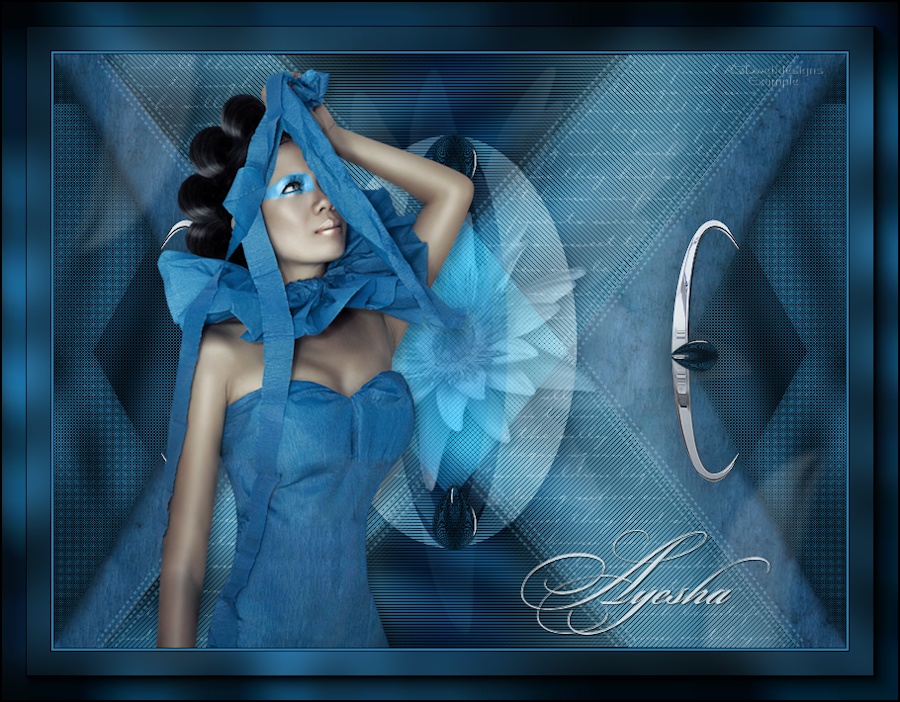
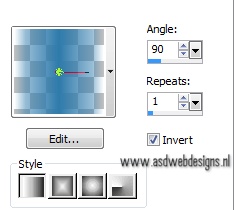
Color Palette: Set
your Foregroundcolor to
Foreground/Background Gradient
(Corel_06_029) -Style:
Radial
Layers - New Raster Layer
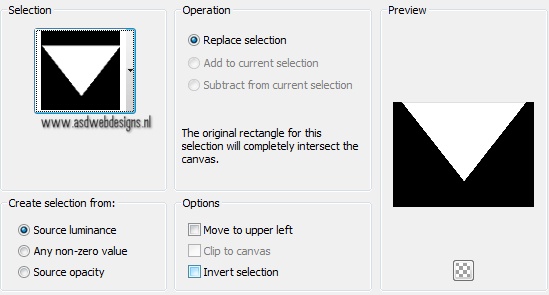
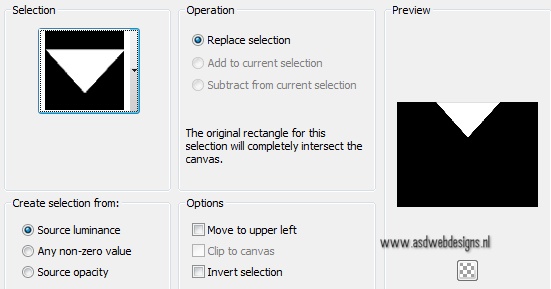
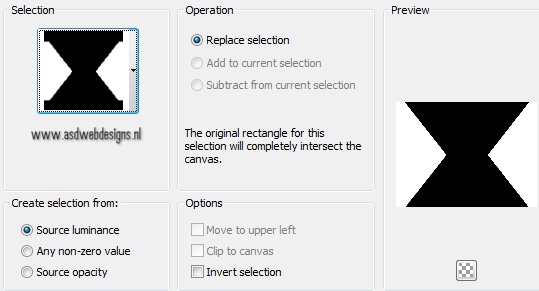
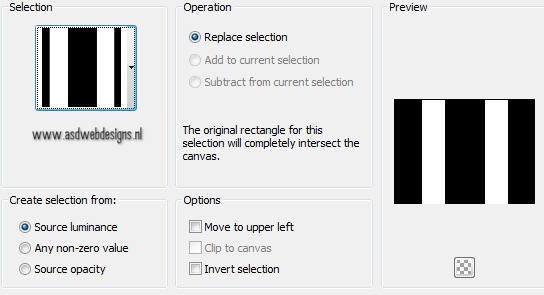
Selections - Load/Save
Selection - Load Selection From
Disk - Msb_Sel_Ayesha_01
Fill the Selection with
the Gradient 
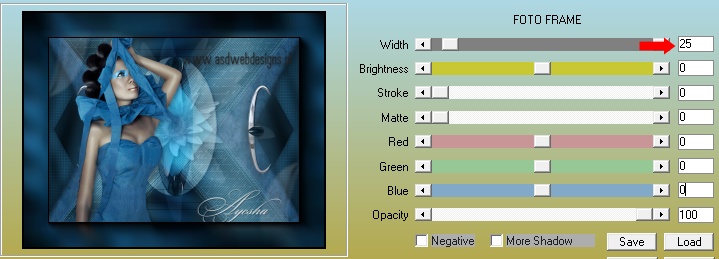
Adjust - Blur - Gaussian Blur -
25
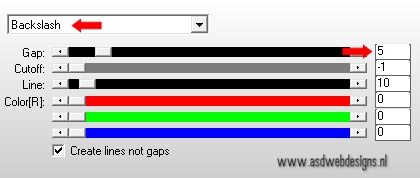
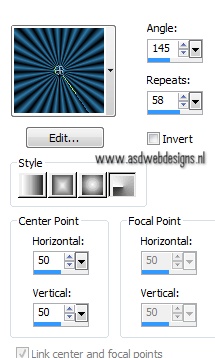
Effects -
Plugins - AP [Lines] - Lines - SilverLining -
Backslash
Selections -
Select None
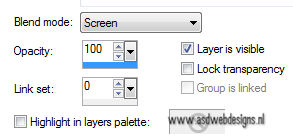
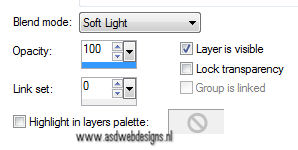
Layer Palette - Double click on
this Layer and set the Blend Mode to
"Screen"
02
Layers - New
Raster Layer
Selections -
Load/Save Selection - Load Selection
From Disk - Msb_Sel_
Ayesha_02
Fill the
Selection with the Gradient
Adjust - Blur -
Gaussian Blur - 15
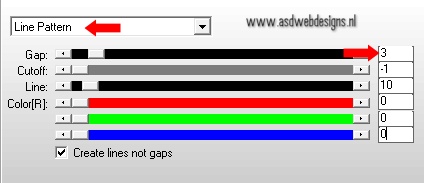
Effects -
Plugins - AP [Lines] - Lines - SilverLining -
Line Pattern
Selections -
Select None
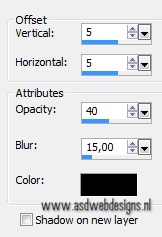
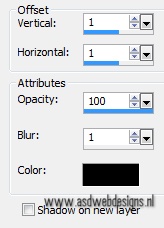
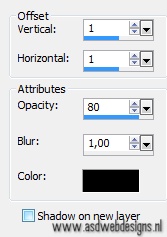
Effects 3D Effects - DropShadow -
Color: #000000
Repeat with the Vertical and Horizontal
Offset to Minus 5
Layers - Merge -
Merge Down
Layers - Duplicate
Image - Flip
Layers - Merge -
Merge Down
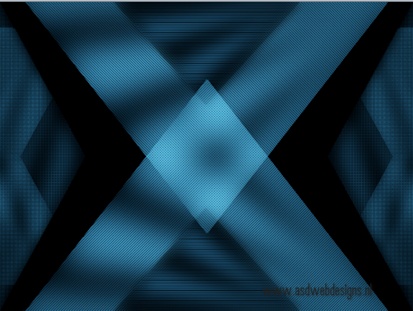
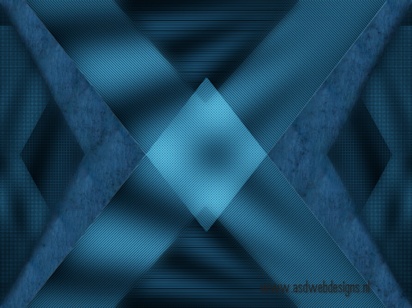
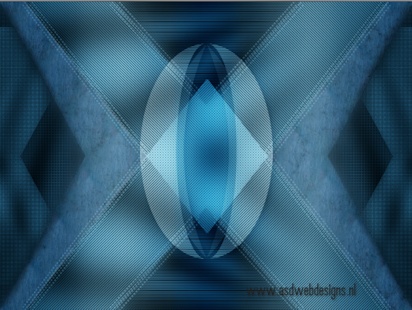
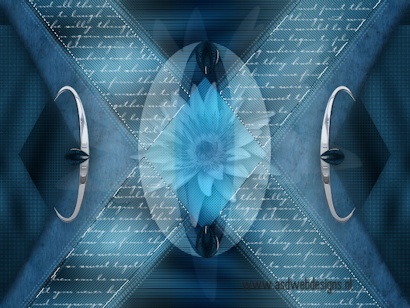
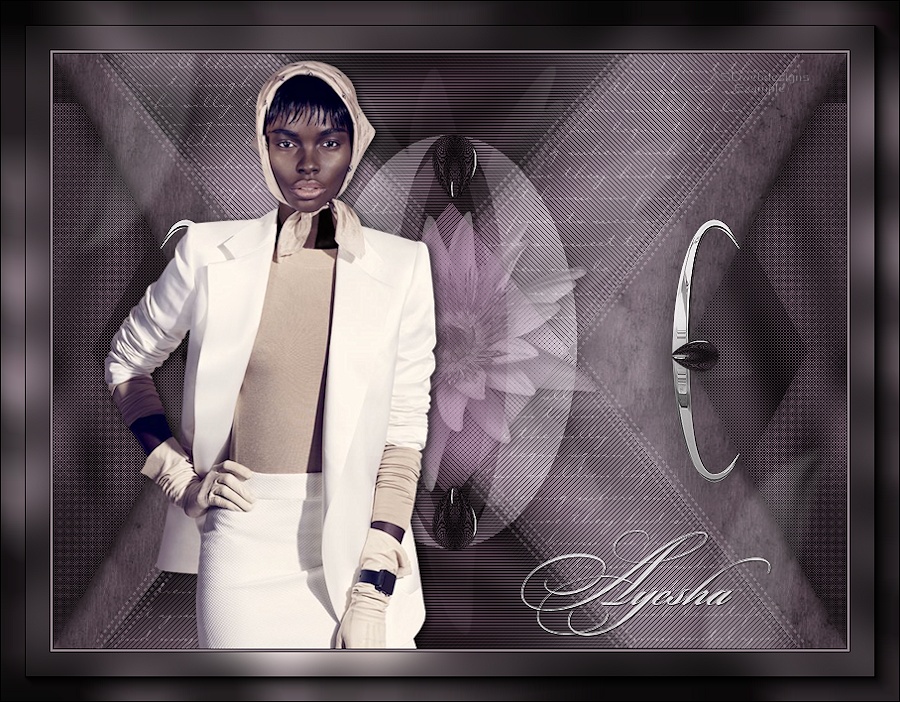
Your work looks
like this now:
03
Layers - New Raster
Layer
Selections -
Load/Save Selection - Load Selection
From Disk - Msb_Sel_
Ayesha_03
Fill the
Selection with the Gradient
Adjust - Blur -
Gaussian Blur - 15
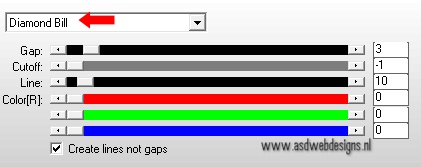
Effects -
Plugins - AP [Lines] - Lines - SilverLining - Diamond
Bill
Selections -
Select None
Layers -
Duplicate
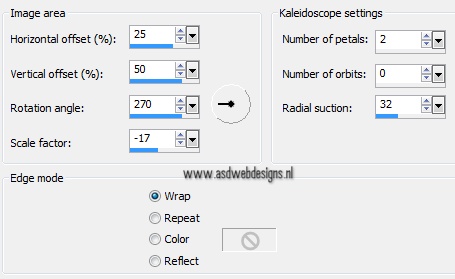
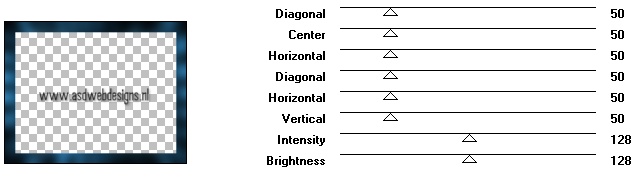
Effects - Reflection Effects -
Kaleidoscope
04
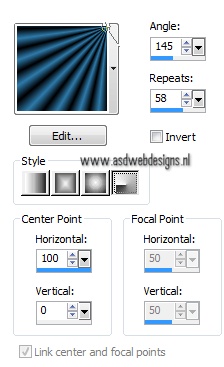
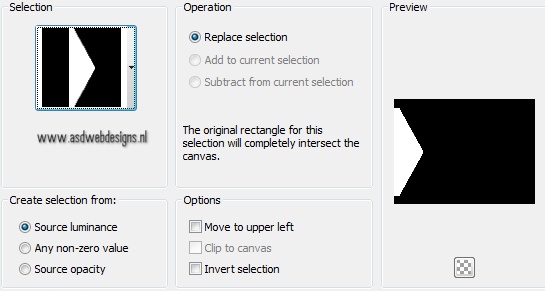
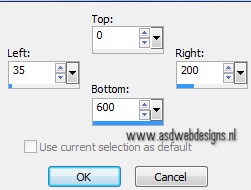
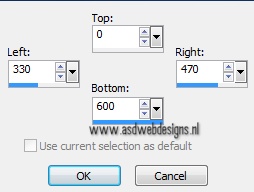
Selection Tool - Rectangle
 - Custom Selection:

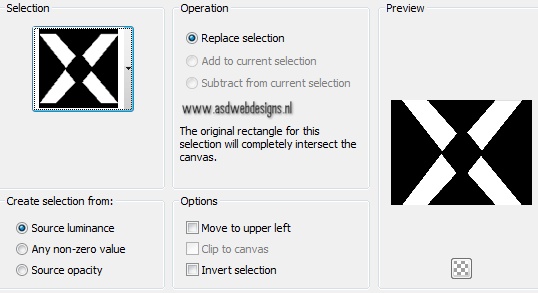
Selections - Promote Selection to
Layer
Selections -
Select None
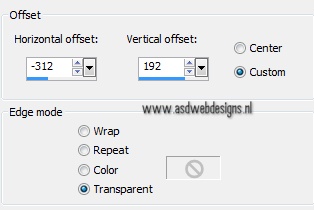
Image -
Mirror
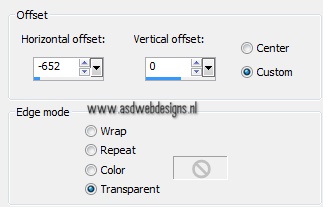
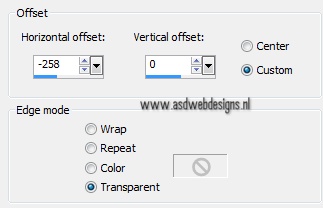
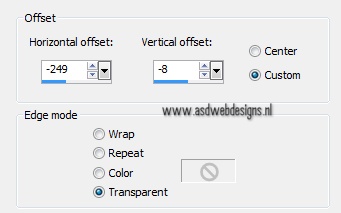
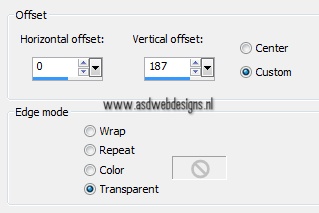
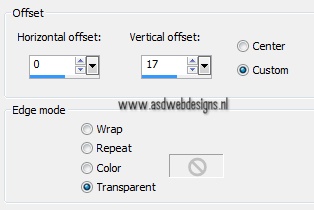
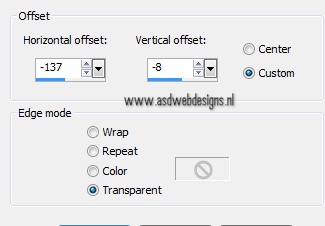
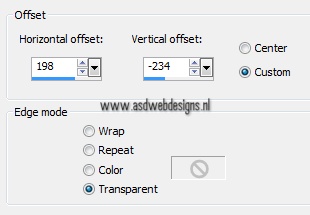
Effects - Image
Effects - Offset
Effects 3D Effects - DropShadow -
Color: #000000
05
Layer Palette - Click on the Second Layer from the
Top
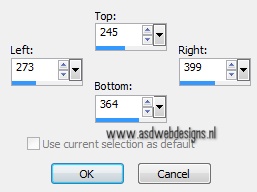
Selection Tool - Rectangle
- Custom Selection:
Edit - Copy
Selections -
Select None
Edit - Paste as
New Image
Effects - Plugins - Alien Skin Eye
Candy 5 - Impact - Glass -
Settings Tab: Preset
Clear
Minimize to tray
( I always also save as PSP file),
you need it later
06
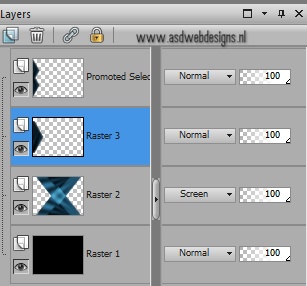
Return to your
Main Image
Layers -
Delete
Your Layer
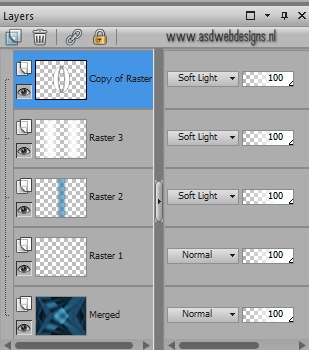
Palette looks like this now:
07
Layer Palette - Click on the top
layer
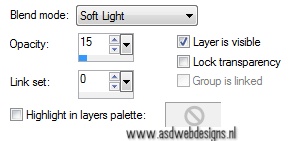
Layer Palette - Double click on
this Layer and set the Blend Mode to
"Screen"
Layers - Merge -
Merge Down
Layers -
Duplicate
Image - Mirror
Layers - Merge -
Merge Down
Effects 3D Effects - DropShadow -
Color: #000000
Repeat with the Vertical and Horizontal
Offset to Minus 5
Your work looks
like this now:
08
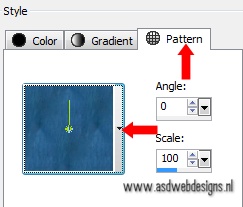
Color Palette:
Double Click on your Foregroundcolor
and change to Pattern, select the
"Msb_Pattern_9-4-12"Pattern
Layer Palette - Click on the Bottom
layer
Layers - New Raster
Layer
Selections -
Load/Save Selection - Load Selection
From Disk - Msb_Sel_
Ayesha_04
Fill the
Selection with the Pattern 
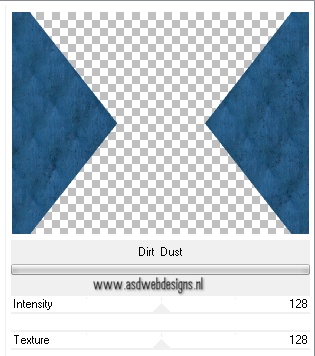
Effects - Plugins - <I.C.NET
Software> - Filters Unlimited 2.0
- Photo Aging Kit -
Dirt &
Dust
Selections -
Select None
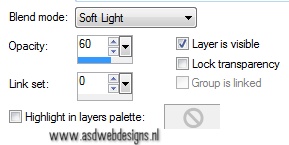
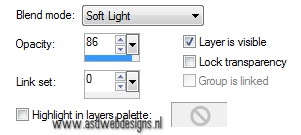
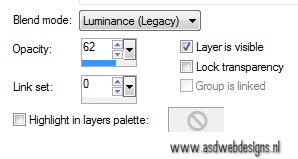
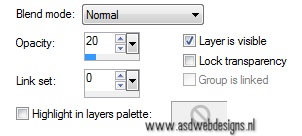
Layer Palette - Double click on this
Layer and set the Layer Opacity of
this layer to 86
Layers - Merge - Merge Visible
Your work looks
like this now:
Color Palette: Set
your Foregroundcolor back to color
and change to #ffffff - Close the
Backgroundcolor
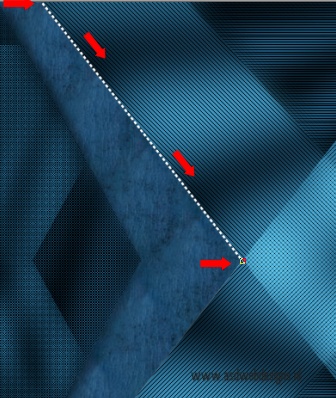
Pen Tool  - Mode:
Draw Lines and Poly Lines -
Create as Vector checked -
Linestyle Dot - Width
3
- Mode:
Draw Lines and Poly Lines -
Create as Vector checked -
Linestyle Dot - Width
3
Draw while
holding down your Shift Key a line
fromthe Top Left down like this:
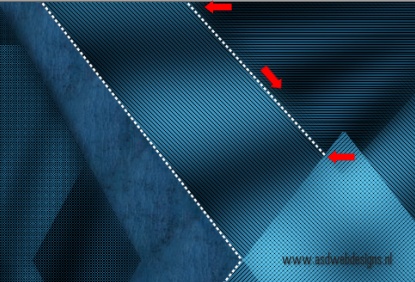
Layers - Convert
to Raster Layer
Effects - Plugins - Simple - Top
Left Mirror