Image - Mirror
Image - Flip
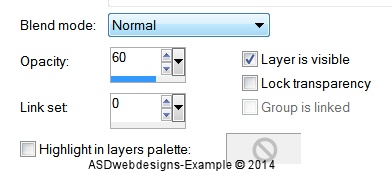
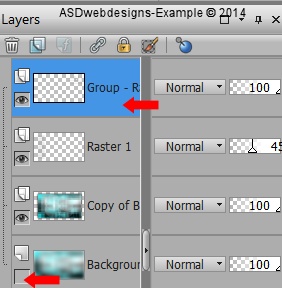
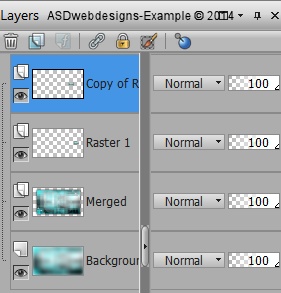
Layer - Palette: Close the Bottom Layer by Clicking on the
Little Eye, the top Layer is still active
Layers -
Merge - Merge Visible
11
Edit - Copy
Edit - Paste as New Image
On this new image:
Layers - Merge - Merge all (Flatten) 
Image -
Resize - 10% - Resize all Layers
checked
Edit - Copy
12
Go back to your main Image
Open the Bottom Layer - Top Layer is still
active
Edit - Paste As New Layer
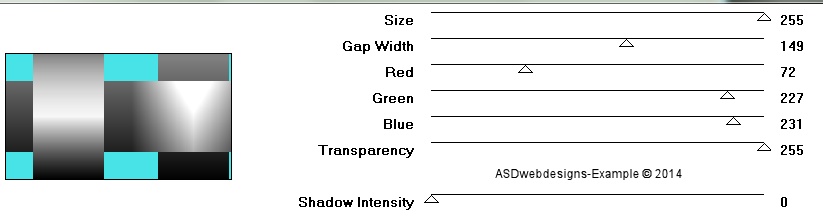
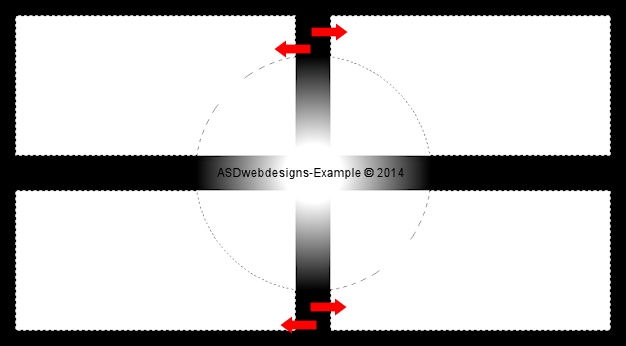
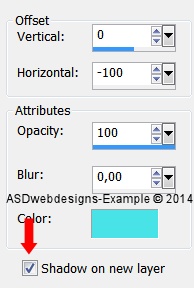
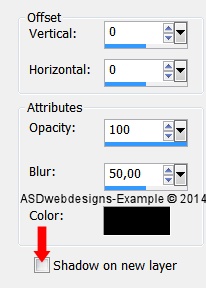
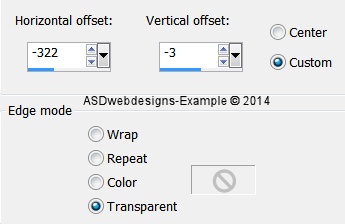
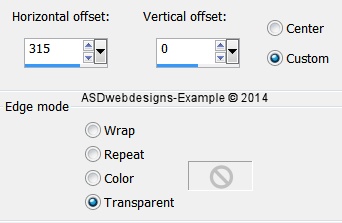
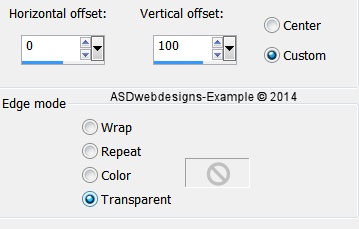
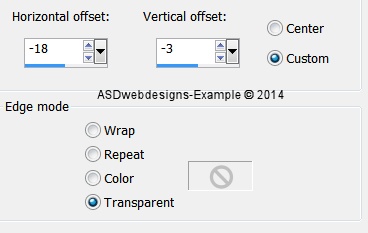
Effects - Image Effects - Offset
Layers - Duplicate
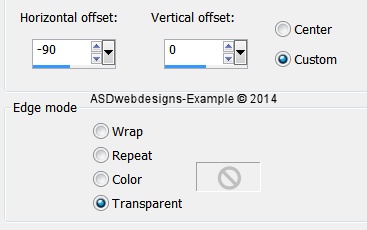
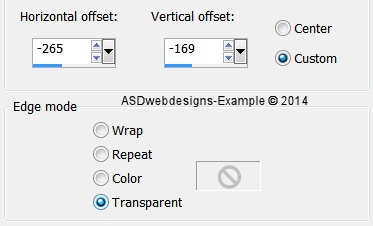
Effects - Image Effects - Offset
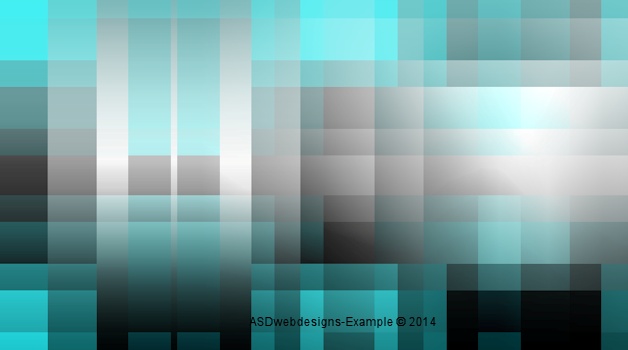
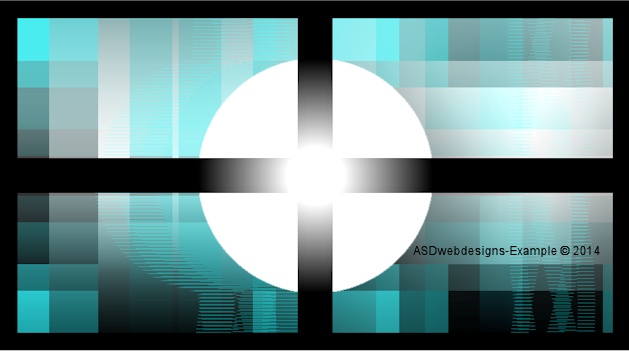
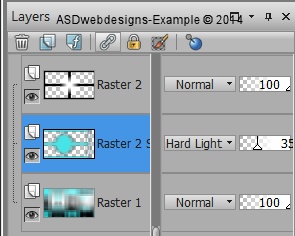
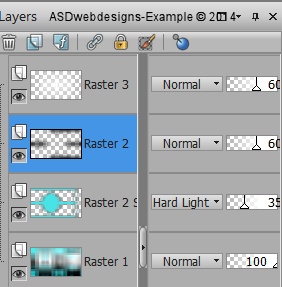
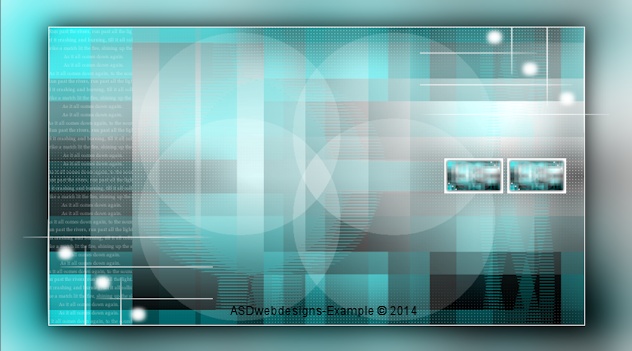
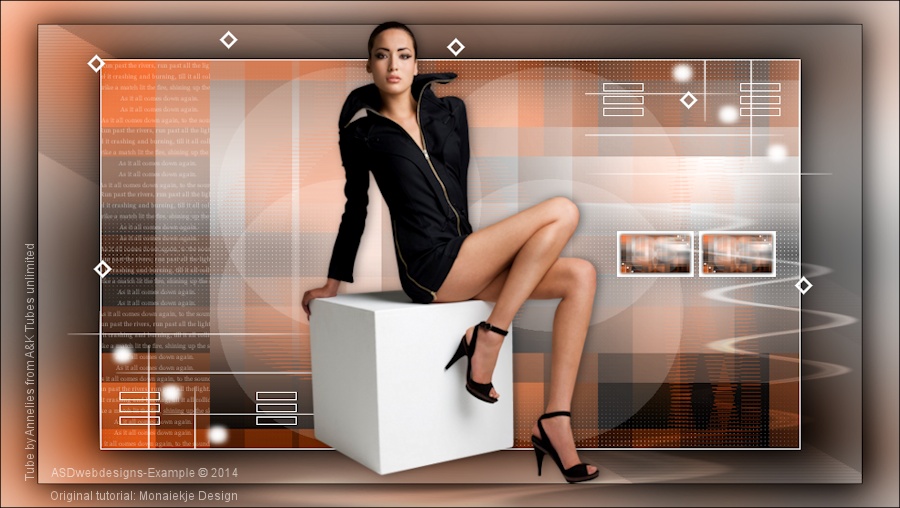
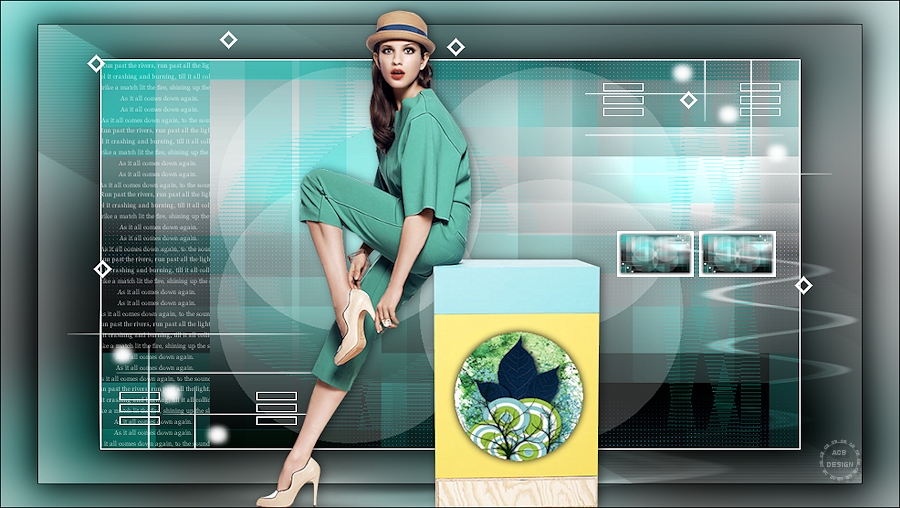
Your work and Layer Palette look like this now:
13
Open Tube "blokjes monaiekje
zamirah"
Edit - Copy
On your work image: Edit -
Paste As New Layer
Effects - Image Effects - Offset
14
Open Tube "deco
monaiekje zamirah"
Edit - Copy
On your work image: Edit -
Paste As New Layer
Effects - Image Effects - Offset
Layers - Duplicate
Image - Mirror
Image - Flip
15
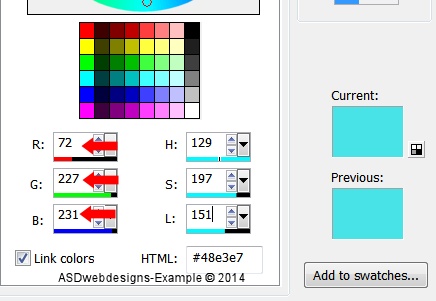
Layers - New Raster Layer
Fill with the Backgroundcolor 
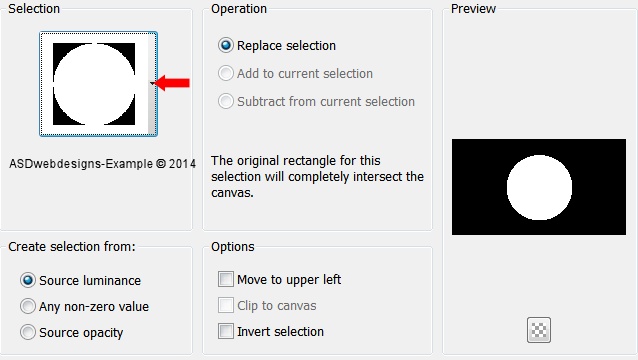
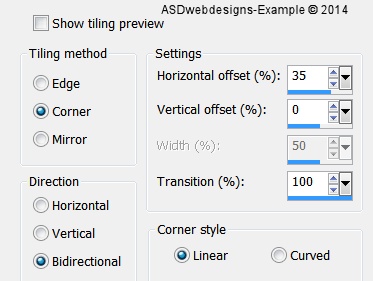
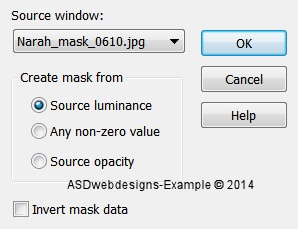
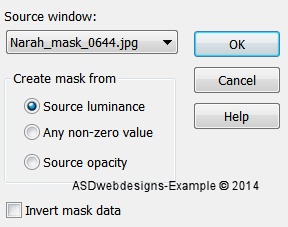
Layers - New Mask Layer - From Image -
Narah-mask_0644
Layers - Merge - Merge Group
Layers -
Arrange - Send to Bottom
Layer
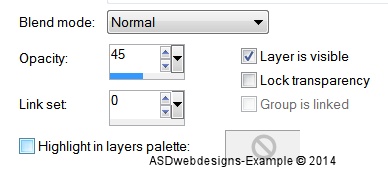
Palette - Double
click on this Layer and set
the Layer Opacity of this Layer to
40
16
Layer
Palette - Click on the Bottom Layer
Edit - Copy!
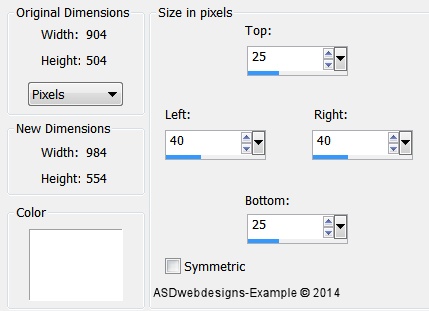
Image -
Add Borders - Symmetric checked - 1 px -
Backgroundcolor
Image -
Add Borders - Symmetric not checked -
Foregroundcolor 
Magic Wand Tool  - Mode: Add /Shift -
Tolerance 0 - Contiguous checked -
Anti Alias Checked - Click in
the last border
- Mode: Add /Shift -
Tolerance 0 - Contiguous checked -
Anti Alias Checked - Click in
the last border
Edit - Paste Into Selection ( Background image is still in your
PSP Memory)
Selections - Invert
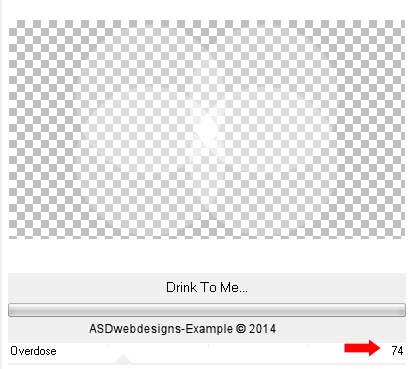
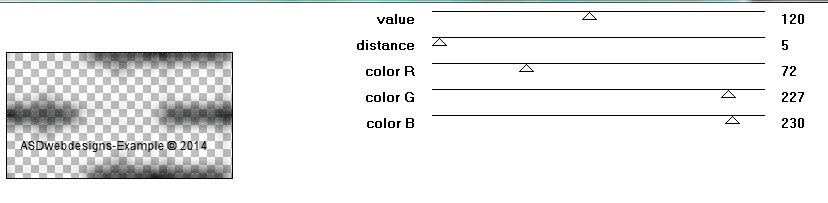
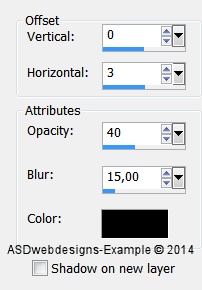
Effects 3D Effects - Dropshadow -
Color #000000
Selections - Select None
17
Open Tube "Alies
1-2VR027-woman-14062014"
Edit - Copy
On your work image: Edit - Paste
As New Layer
Image - Resize - 85% - Resize
all Layers not checked
Effects - Image Effects - Offset
Effects 3D Effects - Dropshadow -
Color #000000
18
Open Tube "deco
2 monaiekje zamirah"
Edit - Copy
On your work image: Edit - Paste
As New Layer
Effects - Image Effects - Offset
Layers -
Arrange - Move Down
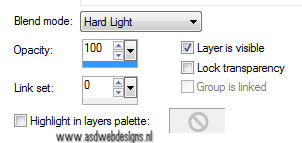
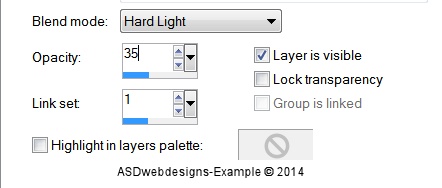
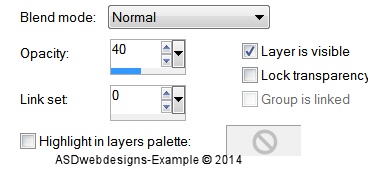
Layer Palette - Double click on this
Layer and set the Blend Mode to "Overlay" and the Layer
Opacity to 75