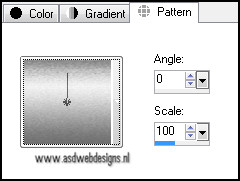
Set your foregroundcolor back to color
Selections - Modify - Contract – 50 pixels
Layers - New Raster Layer
Fill the selection with the foregroundcolor
Effects - Texture Effects - Weave - both colors #000000

Keep selected
07.
Selections - Modify - Contract – 50 pixels
Layers - New Raster Layer
Effects 3D Effects - Cutout - Shadow color #000000 - Fill
interior with color #a482a6
Layers - New Raster Layer
Effects 3D Effects - Cutout
Selections - Select None
Layers - Merge - Merge Down
Effects - Plugins - L&k SiteOfWonders -
L en K Elvida - 151
08.
Layer Palette - Click on the second layer
from the bottom
Layers - Duplicate
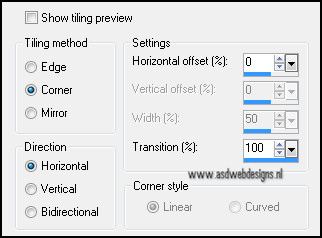
Effects - Image Effects - Seamless Tiling - same settings as
before
Layer Palette - Set the Blend Mode of this layer to
Dodge
09.
Layers - Duplicate
Image - Free Rotate - Right - 90°
Effects - Image Effects - Seamless Tiling - same settings as
before
Effects - Plugins – Tramages – Tow the line - Default
settings
Layer Palette - Set the Blend Mode of this layer to
"Overlay"
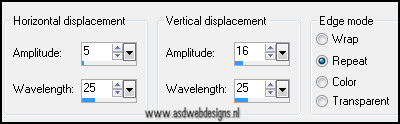
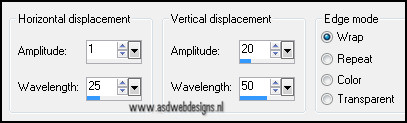
Effects - Distortion Effects - Wave
10.
Layer Palette - Click on the
second layer from the bottom
Selections - Select all
Selections - Float
Selections defloat
Effects 3D Effects - Dropshadow - 15 - Minus 15 - 75 -
25 - #311a2c
Effects 3D Effects - Dropshadow - Minus 15 - 15 - 75 -
25 - #311a2c
Keep selected
11.
Layer Palette - Click on the fourth layer from the
top ( the vertical wave)
Hit the delete key of your keyboard
Selections - Select None
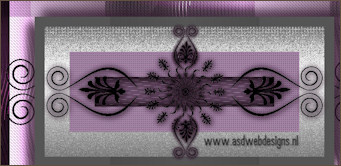
It
looks like this now:

12.
Layer Palette - Click on the
Bottom layer
Open Tube "Deco" - Copy
and paste as new layer on your image.
Image - Resize - 88% - Resize all layers NOT
checked
13.
Edit - paste as new layer on your image. ( Deco is still
in your PSP memory)
Layers - Arrange - Bring to top
Image - Resize - 68% - Resize all layers NOT checked
Effects 3D Effects - Dropshadow - 1 - 1 - 85 - 15 -
#311a2c
Repeat the dropshadow once - same settings
Layers - Duplicate
Image - Free Rotate - Right - 90°
Image - Resize - 48% - Resize
all layers NOT checked
Layers - Duplicate ( to
sharpen it up)
Layers - Merge - Merge all
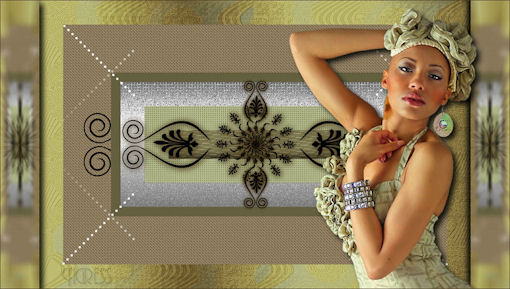
The deco should look like this now:
14.
Set your foregroundcolor to #ffffff
Layers - New Raster Layer
Selections - Load/Save Selection - Load selection from disc -
MDlessen-selectie-25
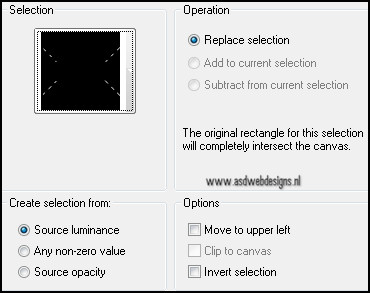
Fill the selection with your white foregroundcolor
Selections - Select None
Layers - Duplicate
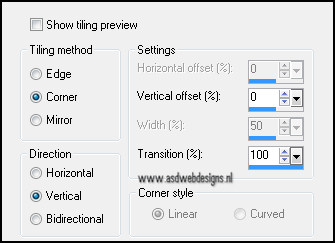
Effects - Image Effects - Seamless Tiling
Layers - Merge - Merge Visible
Edit - Copy
15.
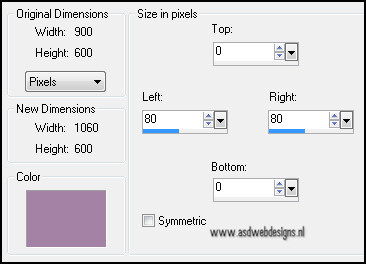
Image - Add Borders - Symmetric not
checked - Color #a482a6
Magic Wand Tool  - Mode: Shift/Add - Tolerance 0 -
Contiguous checked - Anti Alias Checked -
Click in the left border
- Mode: Shift/Add - Tolerance 0 -
Contiguous checked - Anti Alias Checked -
Click in the left border
Layers - New Raster Layer
Edit - paste into the selection
Selections - Select None
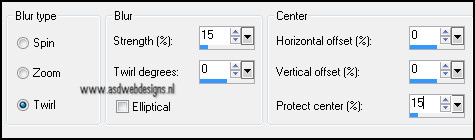
Adjust - Blur - Radial Blur
Layers - Duplicate
Image - Mirror
Layers - Merge - Merge Down
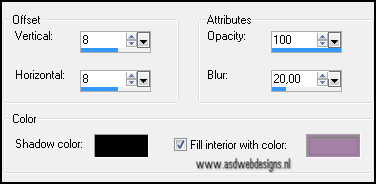
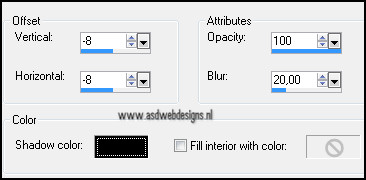
Effects 3D Effects - Dropshadow - 8 - 8 - 85 - 15 -
#000000
Effects 3D Effects - Dropshadow - Minus 8 - Minus 8 - 85
- 15 - #000000
16.
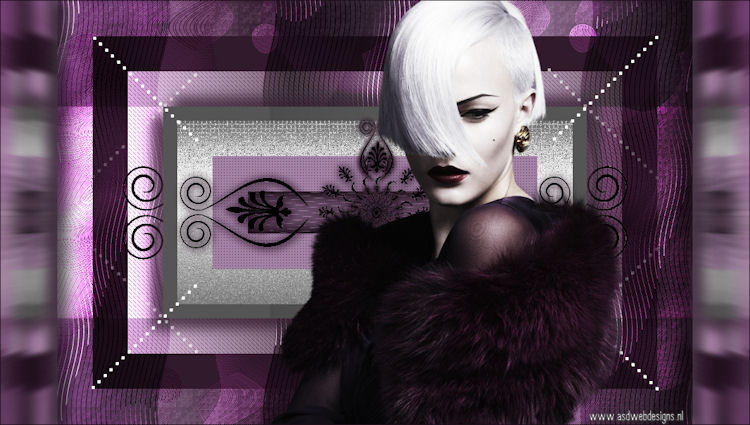
Open Tube "Activeer Alies
718-woman-fur-14122011" - Copy and paste as new
layer on your image.
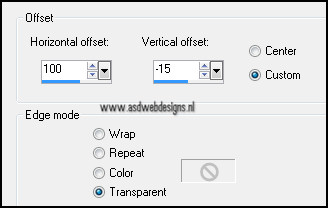
Effects - Image Effects - Offset
Effects 3D Effects - Dropshadow - 8 - 8 - 85 - 15
- #000000
17.
Image - Add Borders - Symmetric - 1 px - Backgroundcolor
Image - Resize - Width 800 Pixels - Resize all
layers checked