The
tutorial:
01.
Open a New
Transparent image of 900 x 600
px
Open Tube "Alies
672-woman jeans-03112011"
Edit - Copy
Minimize to tray, you need
it later again.
On
your work image: Edit - Paste As New
Layer
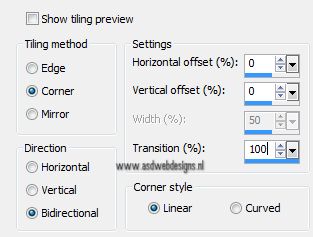
Effects - Image Effects - Seamless
Tiling
02.
Edit - Paste as New Layer (Tube is
still in your PSP Memory)
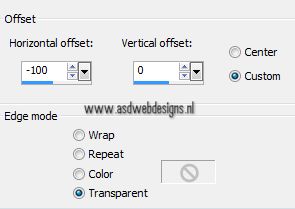
Effects - Image
Effects - Offset
Effects - Image Effects - Seamless
Tiling
Layers - Merge - Merge
Down
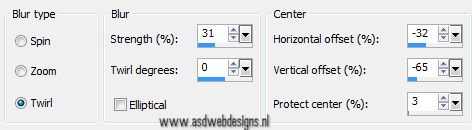
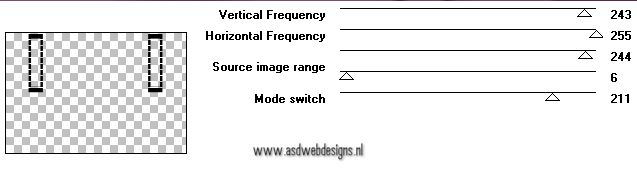
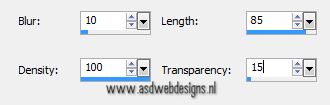
Adjust - Blur - Radial Blur
Effects - Plugins - <I.C.NET
Software> Filters Unlimited -
Mock - Windo
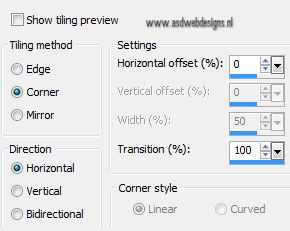
Effects - Image Effects - Seamless
Tiling
03.
Layer Palette - Click on the Bottom
layer
Fill with the Backgroundcolor

Layers - Merge - Merge
Visible
Effects
- Plugins - Simple -
Blintz
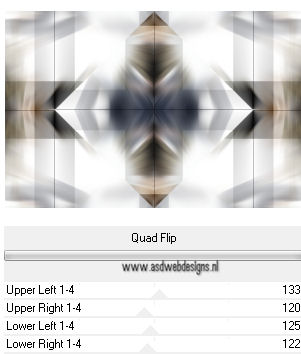
Effects - Plugins - <I.C.NET
Software> Filters Unlimited -
&<Bkg kaleidoscope> -
Quad flip
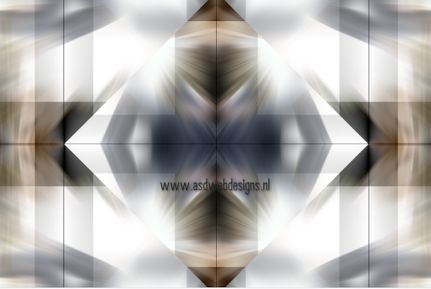
Your work looks like this
now:
04.
Color Palette: Close your
Foregroundcolor
Preset Shape Tool  - Shape: X Percussion
Clef
- Shape: X Percussion
Clef 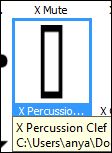
Draw with
a Shape like
this:
Layers - Convert to Raster
Layer
Layers -
Duplicate
Image - Mirror
Layers - Merge - Merge
Down
Layers - Duplicate
Effects - Plugins - Toadies -
Rasterline ( you will not see the
effect but we fix that in the next
step)
Effects - Distortion Effects - Wind
- From Left checked - Wind
Strength:
100
Layers - Arrange - Move
Down
05.
Color Palette: Open the
Foregroundcolor
Layer Palette - Click on the top
layer
Layers - New
Raster Layer
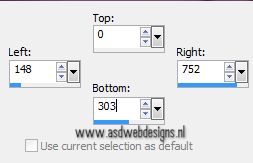
Selection Tool - Rectangle
 - Custom
Selection:
- Custom
Selection: 
Fill the Selection with
the Foregroundcolor

Selections - Select
None
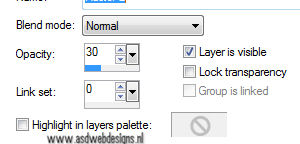
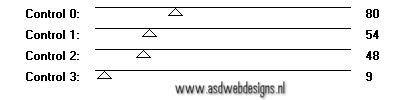
Layer Palette - Double click on this
Layer and set
the Layer Opacity of this layer
to 30
Note: The original tutorial
reduced the Opacity to 45 but when I
did that my work did not look like
the tutorial example so I lowered
mine, just look how yours turned out
and do what is best.
06.
Color Palette: Change
your Foregroundcolor to
#6d7787 
Layers
- New Raster Layer
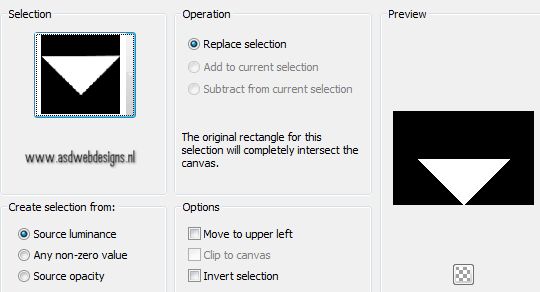
Selections - Load/Save Selection
- Load Selection From Disk -
MDlessen-selectie16
Fill the Selection with
the Foregroundcolor
Effects - Plugins -
Tramages - Tow The Line
Selections - Select
None
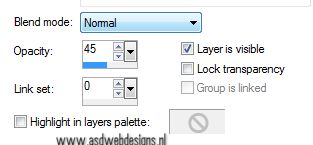
Layer Palette -
Double click on this Layer and
set the
Layer Opacity of this layer to
45
07.
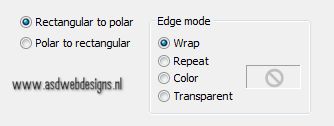
Layers - Duplicate
Effects - Distortion Effects - Polar
Coordinates
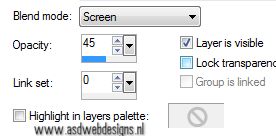
Layers - Duplicate
Image - Flip
Layer Palette - Double click on this
Layer and set the Blend Mode
to
"Screen"
Layers - Merge - Merge
Visible
08.
Open Tube "Tube
16 - deco 4"
Edit - Copy
On
your work image: Edit - Paste As New
Layer
Image - Resize - 75%-
Resize all layers not
checked
Move to the Left like
this:
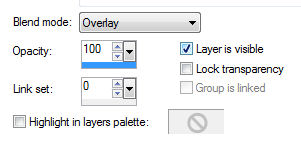
Layer Palette - Double click on
this Layer and set the Blend
Mode to
"Overlay"
09.
Layers - Duplicate
Image - Mirror
Image - Flip
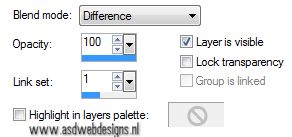
Layer
Palette -
Double click on this Layer and
set the Blend Mode to
"Difference"
Layers - Merge - Merge
Visible
10.
Go
back to Tube "Alies
672-woman jeans-0311201"
Edit - Copy
On
your work image: Edit - Paste As New
Layer
Image - Resize - 95% - Resize
all layers not
checked
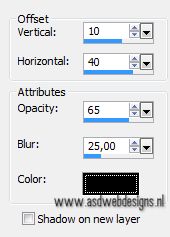
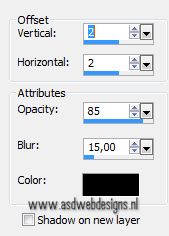
Effects 3D Effects -
DropShadow - Color:
#000000
11.
Image - Add Borders -
Symmetric checked -
1 px - Backgroundcolor
Edit - Copy!
Image - Add Borders -
Symmetric checked -
20 px - #ffffff

Image - Add Borders - Symmetric
checked - 35 px -
Foregroundcolor
Magic Wand Tool  - Mode: Add /Shift -
Tolerance 0 - Contiguous checked -
Anti Alias Checked - Click in
the last border
- Mode: Add /Shift -
Tolerance 0 - Contiguous checked -
Anti Alias Checked - Click in
the last border
Edit - Paste into Selection
(Image is still in your PSP
memory)
Adjust - Blur - Radial Blur
Effects - Texture Effects -
Fur
Selections - Select
None
12.
Text Tool  Font 911
Porscha - Size 120
- Units: Pixels - Font Style: Bold -
Stroke Width 2 - Direction:
Vertical and Left -
Create as: Vector
Font 911
Porscha - Size 120
- Units: Pixels - Font Style: Bold -
Stroke Width 2 - Direction:
Vertical and Left -
Create as: Vector

Color
Palette: Set your Foregroundcolor
to #d9c797
and your
Backgroundcolor to #6d7787
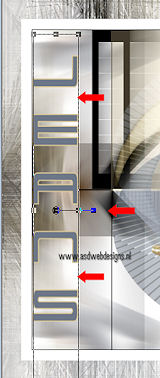
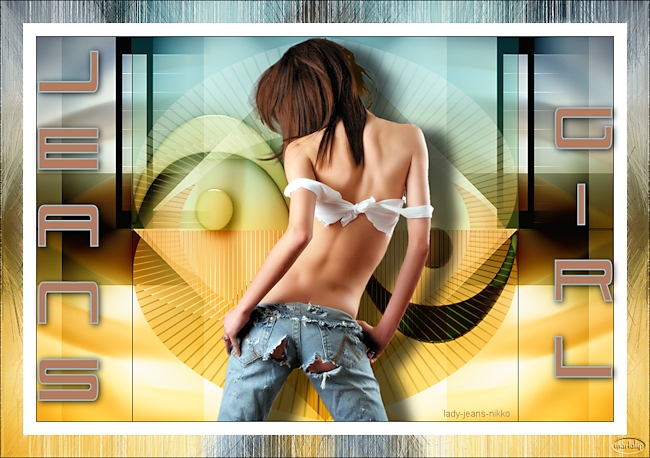
Type: Jeans
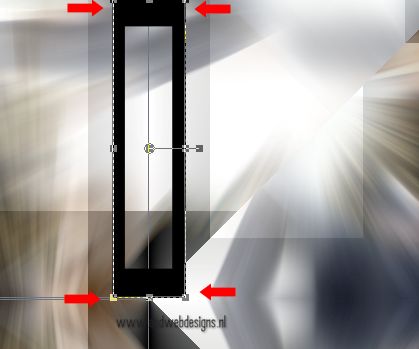
Move to the Left like this:
Move the middle left node
inwards until it looks like
this:
Layers - Convert to
Raster Layer
13.
Text Tool - Same Settings
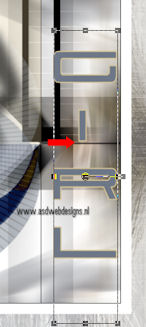
Type:
girl
Move to the Right
like this:
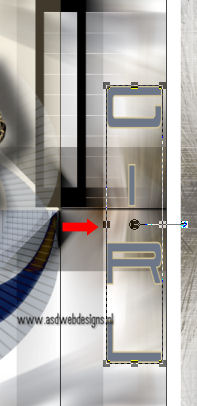
Move the middle left node
inwards until it looks like
this:
Layers - Convert to Raster
Layer
Layers - Merge - Merge
Down
Effects 3D Effects -
DropShadow - Color:
#000000
Layers - Merge - Merge all
(Flatten)
Note: For my
example I added a 1 px Black
border
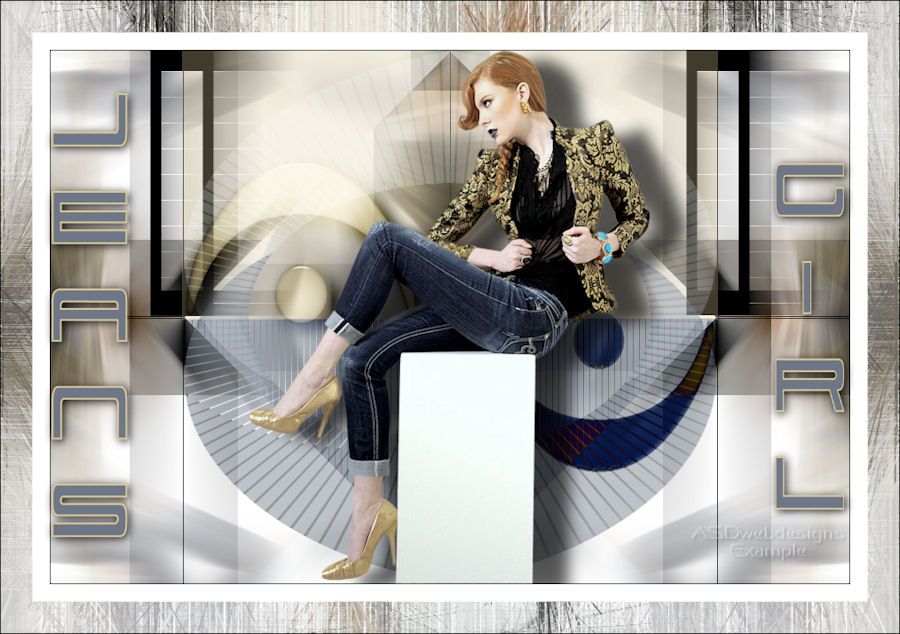
14.
Image - Resize - Width 800
Pixels - Resize all layers
checked
Add
your name or watermark, save as JPG
file and you're done!
If you wish you
can post your result on my Facebook Page 
You may also send
your result to Monaiekje, she will place it at her site. But
only of your work is resized to a Width of "900 PX
Email
Monaiekje:
monaiekje.design@gmail.com